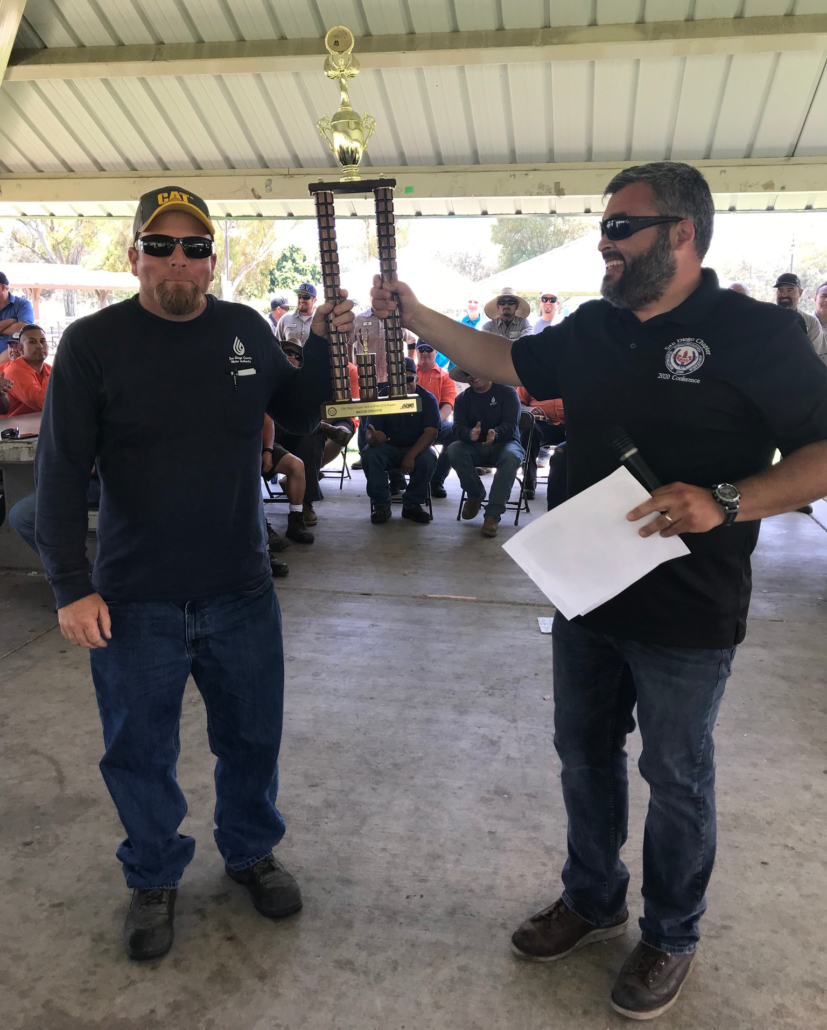
Two San Diego County Water Authority employees took home first place honors in the annual – and unusual – competition that tests the mettle of public works professionals with backhoes, wheelbarrows and other tools of the trade.
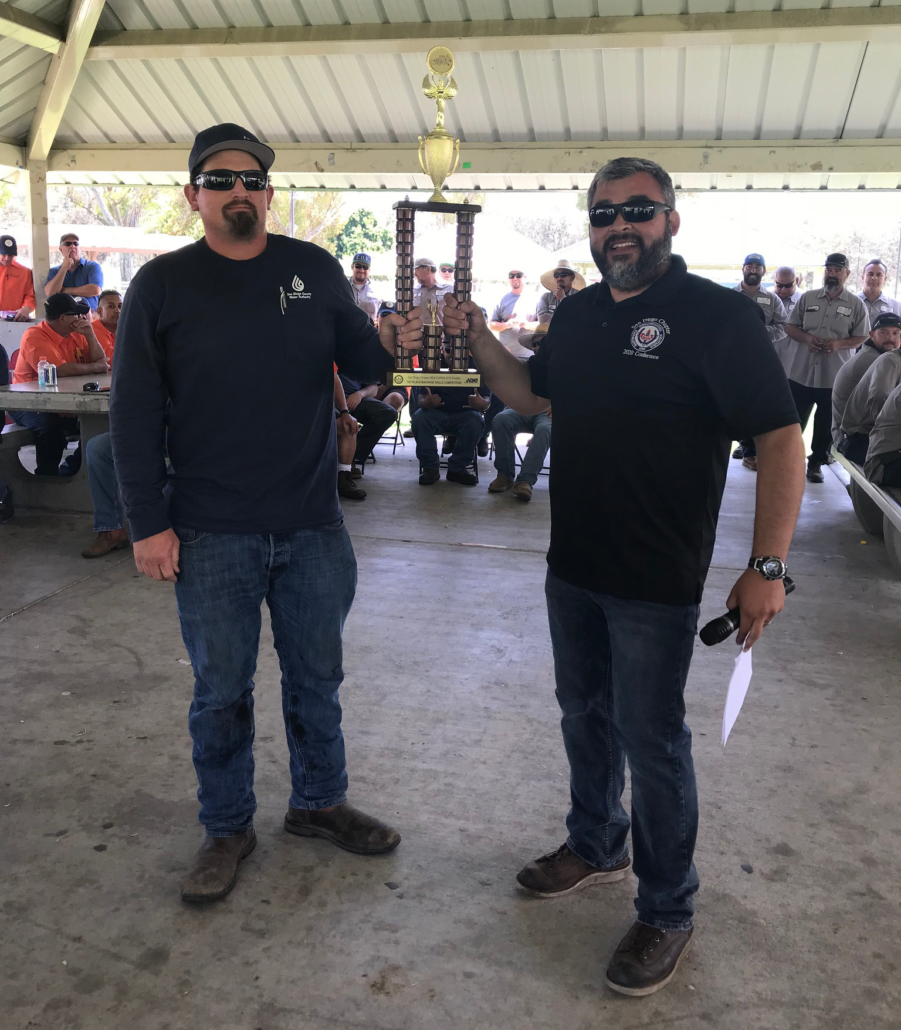
Bobby Bond Jr. of the San Diego County Water Authority wins the title of “Master Operator” at the MSA San Diego/APWA 2018 Skills Competition. Photo: Courtesy MSA San DIego
And one Water Authority veteran – Bobby Bond Jr. – earned the title of 2018 Master Operator for completing all the events in the lowest combined time.
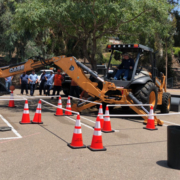
Twelve teams of four crew members participated, and 24 operators vied for the title of Master Operator at the July event hosted by the San Diego Chapter of the Maintenance Supervisors Association and American Public Works Association in Chula Vista.
The City of Chula Vista won the team title for 2018, followed by the City of El Cajon and the Water Authority in third place. Representing the Water Authority was the four-man team of Bond, Patrick Barreiro, John Brown and Tony Cepeda.
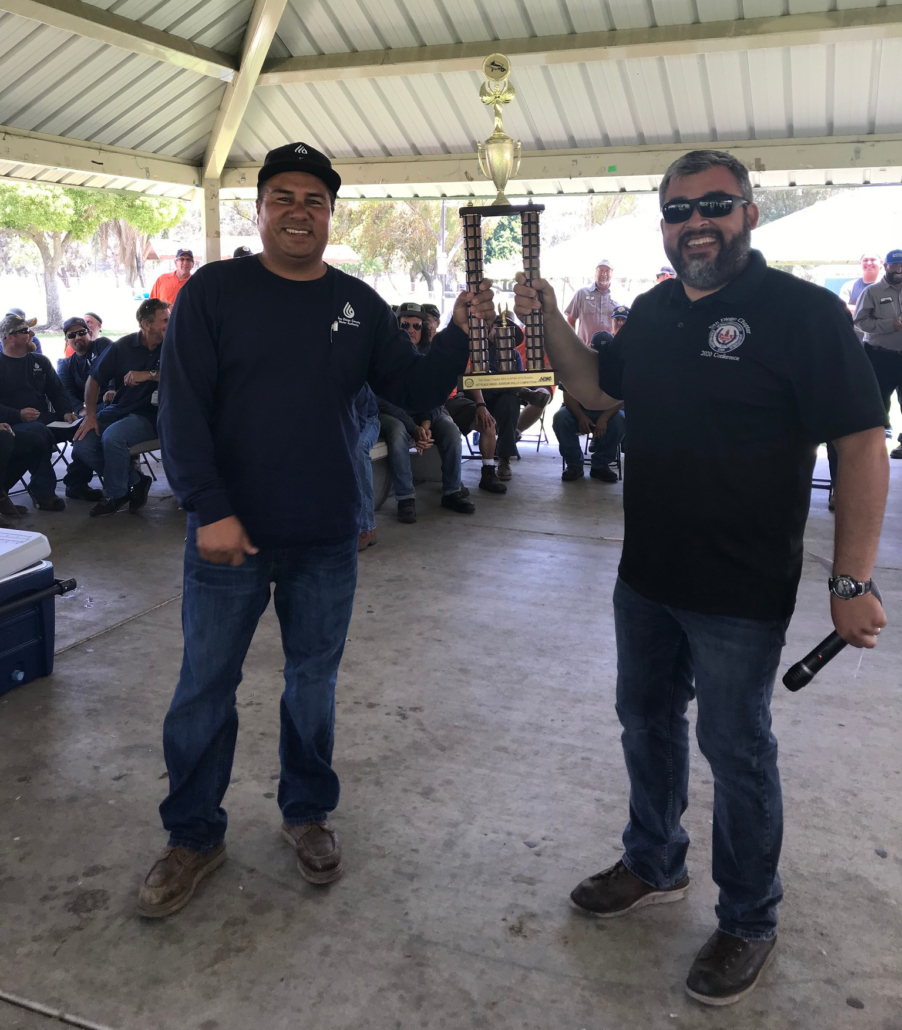
Brown took first in the backhoe operator category, and Cepeda won first place in the wheelbarrow skills. He said his co-workers have been supportive and happy with the Water Authority team’s third place finish.
“It’s fun, it’s teamwork building, and having a good time,” he said. “We work with each other every day, we are like a family here.”
Annual event tests same skills used maintaining vital infrastructure
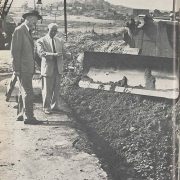
The annual event tests the same skills participants use while maintaining water and wastewater systems, streets, and other vital infrastructure residents and businesses rely on every day. Tasks included Backhoe Skills, Skid Steer Skills, Mini-Excavator Skills, Sign Assembly, and Wheelbarrow Skills. The team with the best overall combined time won the perpetual trophy, along with bragging rights.
After winning the backhoe category in 2017, Bond captured the 2018 Master Operator title by completing tasks in the lowest overall combined time. He said the competition may be challenging, but it is child’s play compared to the work he and his colleagues perform every day for the Water Authority.
“I’ve dug around utilities including chemical lines, fiber optic lines, and around aqueducts,” said Bond. “I once dug a water line 200 feet and crossed 40 different utilities.”
Brown agrees. “Knocking a tennis ball off a cone (in competition) equals breaking a pipe potentially” on the job, he said.
Cepeda, a Maintenance Worker I who has been with the Water Authority just over a year, helps maintain roads along major Water Authority pipeline corridors and other major structures. “I went for it, gave it a shot, and out of luck I took first place,” said Cepeda. His strategy in maneuvering the wheelbarrow on the course against the clock? “Just run fast!”
Also winning honors was David Hernado of the Vallecitos Water District, who placed first in the Sign Assembly Skills Competition.
Brown and Bond Jr. will compete for Water Authority in upcoming national competition
John Brown of the San Diego County Water Authority wins the Backhoe Skills category at the MSA San Diego/APWA 2018 Skills Competition. Photo: Courtesy MSA San DIego
Along with the good-natured competition, the event’s main objective is to provide valuable training, and showcase the Maintenance Supervisors Association vendors who provide the materials, supplies, and equipment needed to keep regional public works functioning at their highest level. Three hundred members attended this year’s event.
APWA will sponsor the top two equipment operators including Brown and Bond Jr. to compete at the 2018 APWA PWX National APWA ROADEO in Kansas City, Missouri on August 28-29. “We’re real busy at work, we’re running every day,” said Bond, which will allow him and Brown to get in plenty of practice before heading to Kansas City.
The full list of results:
Wheel Barrow Skills Competition:
Tony Cepeda of the San Diego County Water Authority wins the Wheel Barrow Skills category at the MSA San Diego/APWA 2018 Skills Competition. Photo: Courtesy MSA San DIego
1st Place
Tony Cepeda, San Diego County Water Authority 1 minute, 1 second
2nd Place
Sean McRory, City of Encinitas, 1 minute, 2 seconds
3rd Place
Margarito Corado, City of Chula Vista, 1 minute, 4 Seconds
Mario Serrano, City of Vista, 1 minute, 4 Seconds
Sign Assembly Skills Competition:
1st Place – Tie
David Hernado, Vallecitos Water District. 2 minutes, 29 Seconds
2nd Place
Esteban Garcia, City of El Cajon, 2 minutes, 34 Seconds
3rd Place
Arturo Garcia, City of San Diego, 2 minutes, 38 Seconds
Backhoe Operator Competition:
1st Place
John Brown, San Diego County Water Authority, 1 minute, 35 Seconds
2nd Place
Bobby Bond, San Diego County Water Authority, 1 minutes, 36 Seconds
3rd Place
Bryce Greschke, City of Poway, 1 minute, 51 Seconds
Skid Steer Operator Competition:
1st Place
Brian Smith, City of La Mesa, 1 minutes, 40 Seconds
2nd Place
Derek Imoto, City of Encinitas, 2 minutes, 11 Seconds
3rd Place
John Brown, San Diego County Water Authority, 2 minutes, 33 Seconds
Mini Excavator Operator Competition:
1st Place
Geovanni Meza, City of El Cajon, 38 Seconds
2nd Place
John Collingwood, City of San Diego, 39 Seconds
3rd Place
Bobby Bond, San Diego County Water Authority, 47 Seconds
Overall “Roadeo” Competition Champions
1st Place
City of Chula Vista, 9 minutes, 56 Seconds
2nd Place
City of El Cajon, 10 minutes, 26 Seconds
3rd Place
San Diego County Water Authority, 11 minutes, 5 Seconds