Chula Vista Homeowners Win Otay Water District’s 2022 WaterSmart Landscape Contest
Chula Vista homeowners Bryan and Denee Felber earned “Best in District” honors as the winner of the Otay Water District’s 2022 WaterSmart Landscape Contest. Converting 2,143 square feet of turf to a drought-tolerant garden in 2015 continues to save water and pay off for the Felbers while beautifying their neighborhood.
The Felbers live in the District’s division 4, represented by Board Director and Treasurer Jose Lopez.
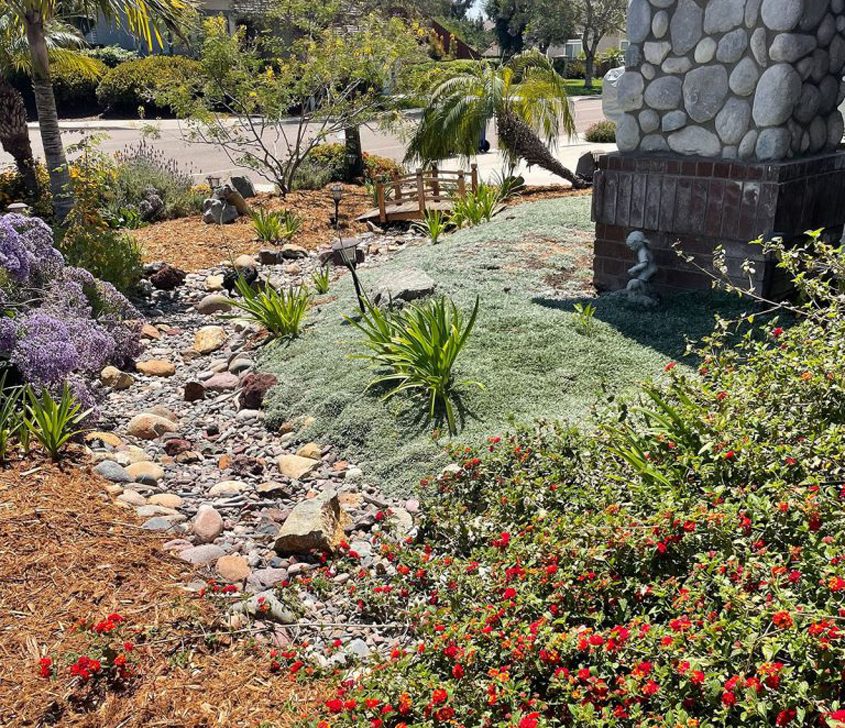
A dry riverbed helps redirect water runoff away from sidewalks and storm drains. Photo: Otay Water District
“Otay is proud to see that our contest winners have taken the necessary steps to limit their outdoor water use and make their home drought resilient,” said Jose Lopez. “Now that our region is facing dry conditions, we encourage customers to do the same by taking full advantage of the programs and rebates available, which will make a significant difference in preserving our local water supply.”
Making a WaterSmart change

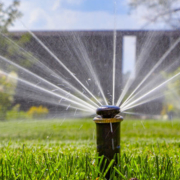
Bryan and Denee Felber’s property before the landscaping redesign. Photo: Otay Water District
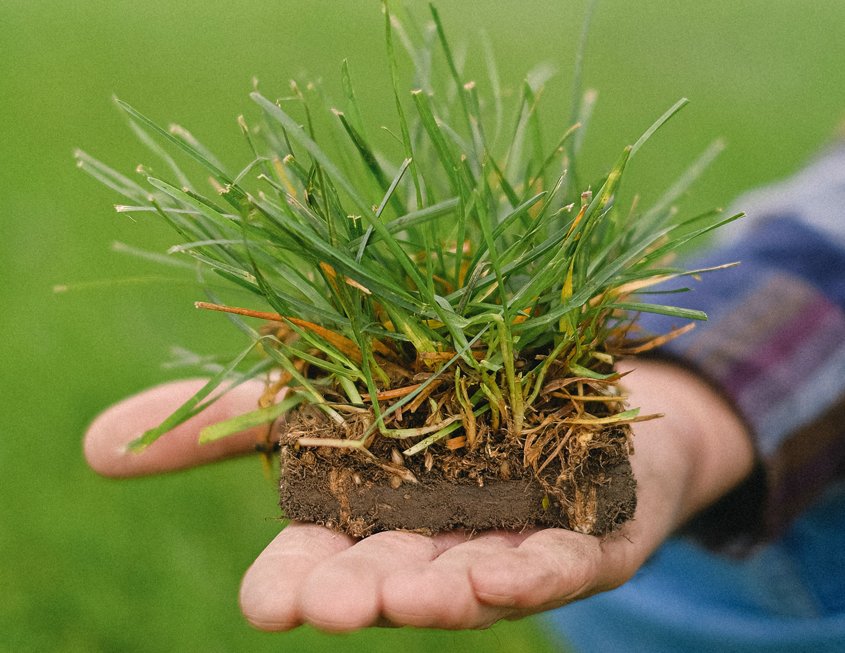
Maintenance demands and high costs to keep their lawn vibrant and green motivated the Felbers to make a change, beginning in 2015. They started by participating in the San Diego County Water Authority’s WaterSmart Landscape Makeover Program, which teaches residents how to create and maintain a beautiful yard suiting their needs while also saving water. The Felbers used what they learned during the planning stages of their project.

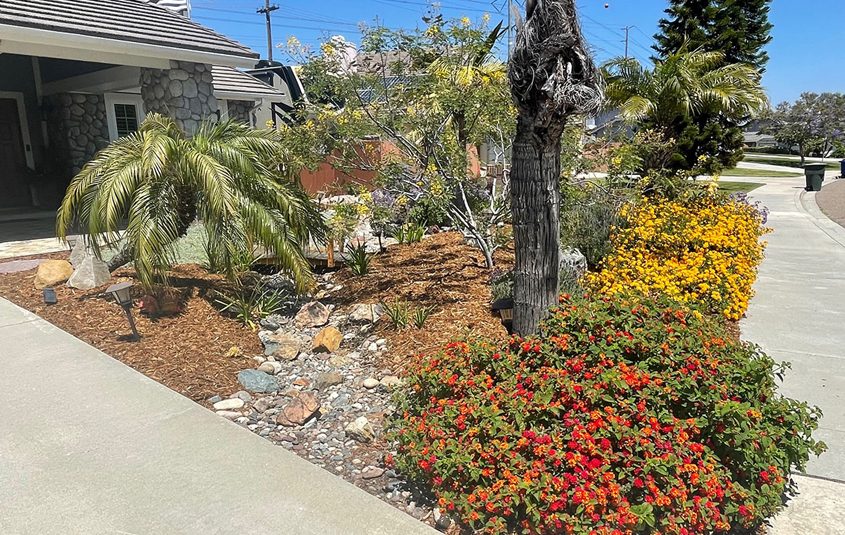
Bryan and Denee Felber’s home after the landscaping redesign. Photo: Otay Water District
The landscape makeover qualified for turf rebates through the Metropolitan Water District of Southern California and the Water Authority. They received a rebate to replace 5,007 square feet of their front and back yards and later replaced 202 square feet of turf in a side yard.
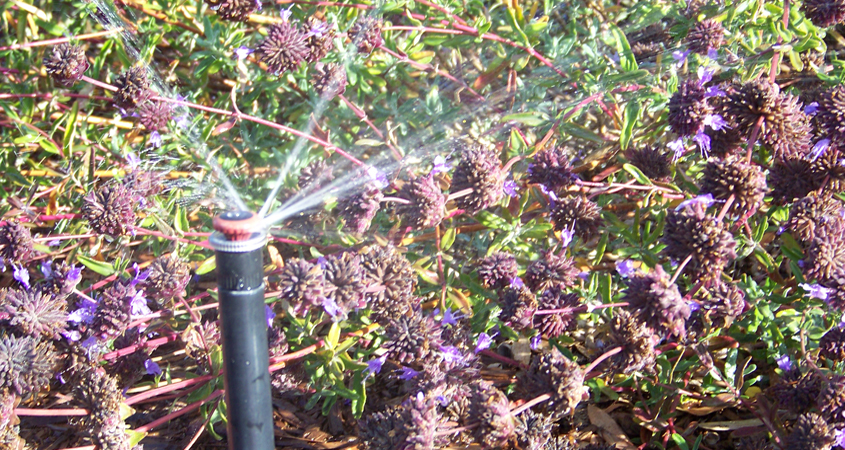
A new drip irrigation system replaced spray nozzles. Plants are watered on an automated schedule three days a week. When rain is expected, the system is turned off or delayed for a few days. A dry riverbed running across the landscape captures and directs rainfall, minimizing water runoff.
New landscape design pays off
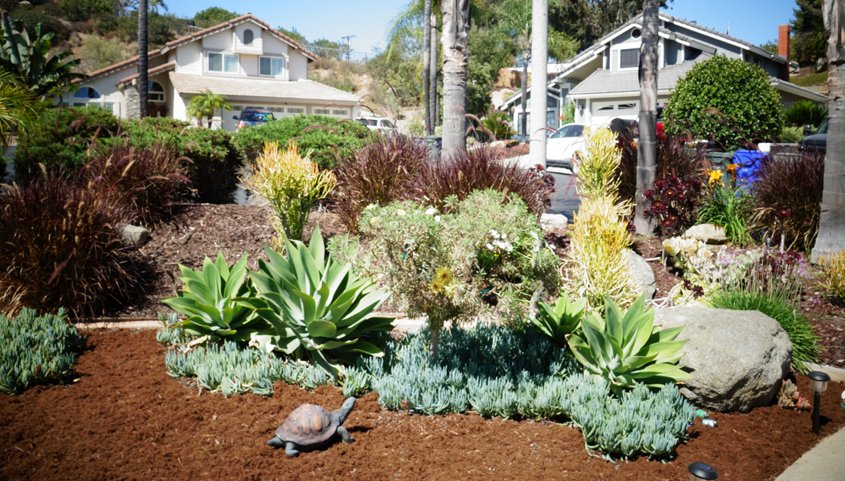
The Felbers used beautiful low-water-use plants to replace more than 2,000 square feet of turf. Photo: Otay Water District
The completed landscape allowed the Felbers to reduce their overall water use by approximately 33% compared to the years before upgrading.
When asked if they recommend others to consider upgrading their yards, Bryan Felber responded, “Absolutely!”
“It’s easier and requires much less time to maintain, and it saves money,” said Bryan. “Designed well, it can be beautiful with far less water, reducing water demand and preserving its supply.”
The Otay Water District board of directors will recognize the couple at its August meeting with a certificate of recognition, a gift certificate to a local nursery of their choice, a yard sign, and other promotional items.
(Editor’s note: The Otay Water District is one of the San Diego County Water Authority’s 24 member agencies that deliver water across the metropolitan San Diego region.)