Remove Your Lawn the Healthy Way
The day has come to replace your thirsty, water guzzling grass. Before you remove it, plan your process carefully to leave only healthy living soil as the foundation for a beautiful, thriving new landscape.
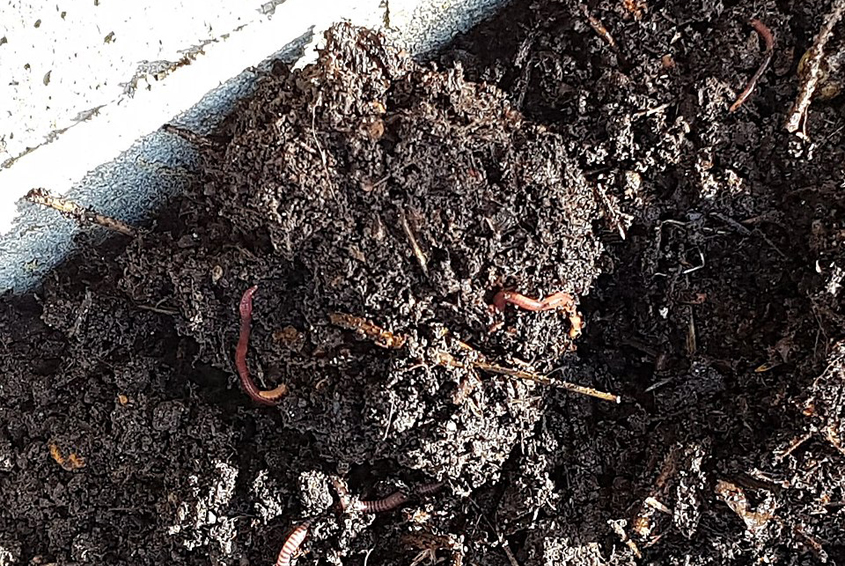
Don’t just turn off your irrigation and let your grass turn brown as it dies off. Healthy microbes in your soil will die off along with the lawn. You want to work with those microbes to help create healthy soil for your new plants.
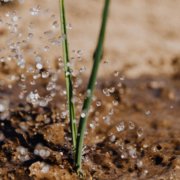
Instead, keep your grass moist until you remove it. It’s also a lot easier to remove fresh, moist grass than to try and pry out dead dry grass and weeds in rock hard, dry soil.
Stay cool and save healthy microbes
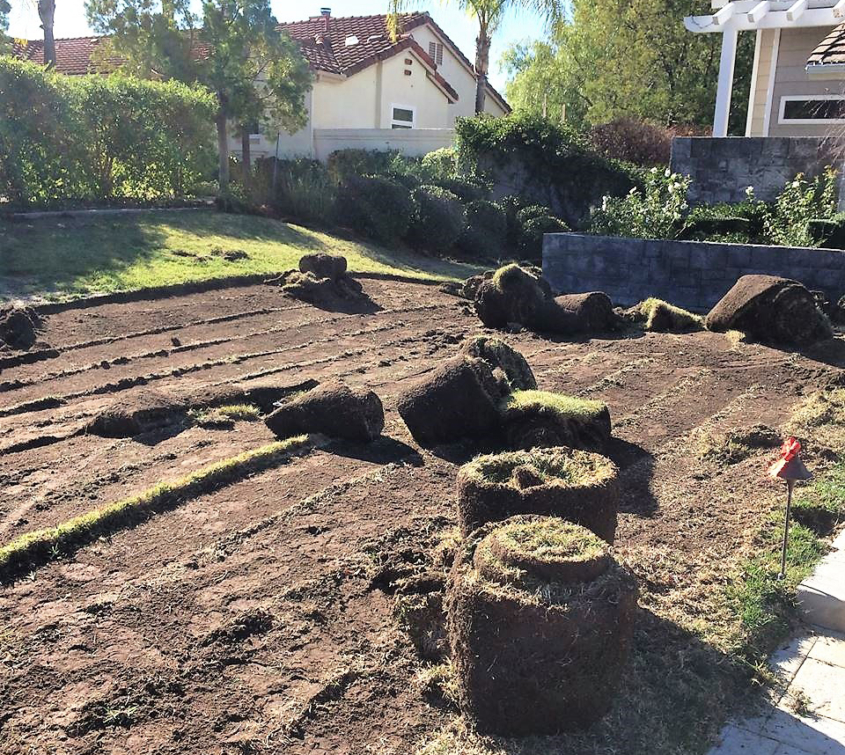
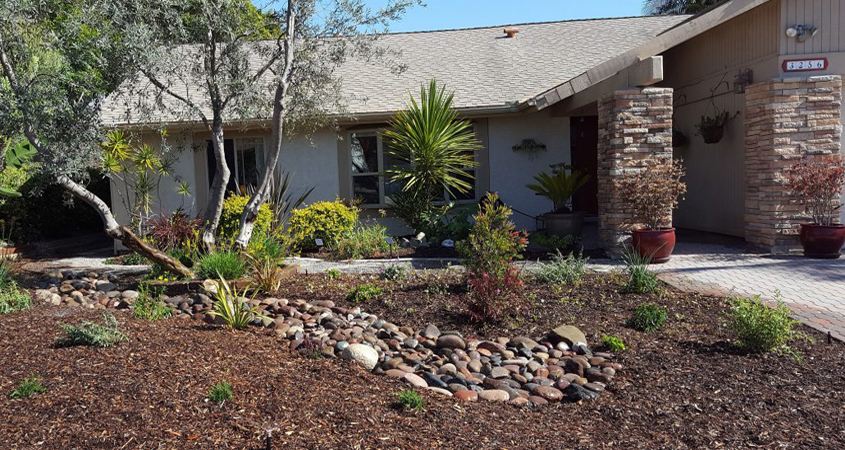
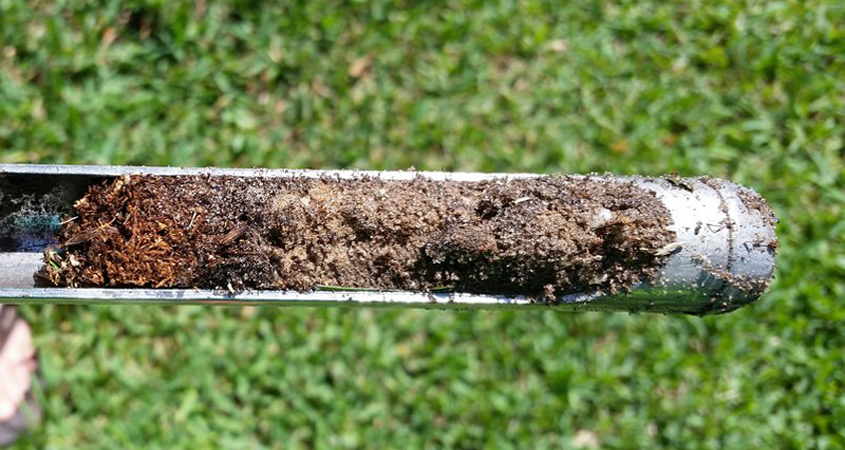
Remove your old turf in a way that preserves valuable soil microbes. Photo: San Diego County Water Authority
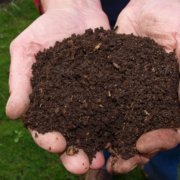
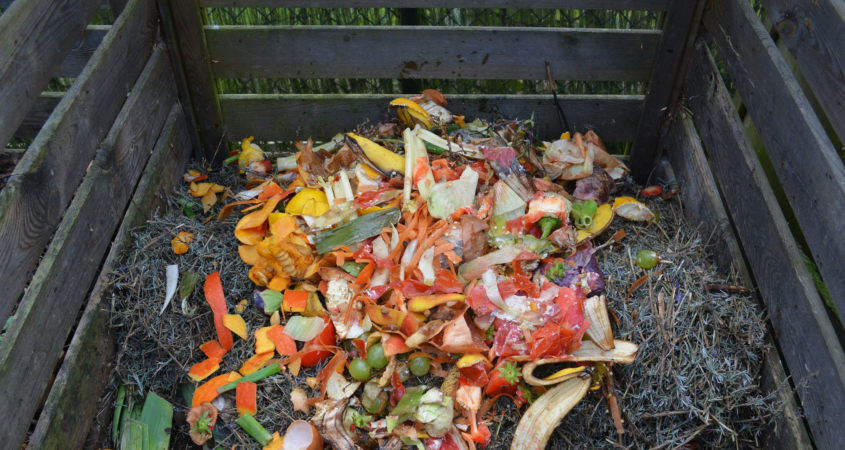
It’s tempting to remove your lawn through solarizing. Solarizing is sometimes used as a way to remove grass without chemical treatment. Instead, a covering such as a heavy black plastic tarp is placed over the grass. Sunlight heats the covering, which broils and kills the lawn through high temperatures. This heat also kills existing healthy microbes you need for healthy soil. It’s possible to artificially replace them with compost, but you need to invest in a lot of compost to restore the good microbes when grass is killed off and removed with this method.
When soil is solarized, it’s sterilized. It remains like this for weeks. Worse, it really doesn’t do much good. Opportunistic weeds move in quickly to try and take over the ground. These weeds don’t grow from existing seeds in the soil. These have usually been killed off. But without any competition, new weeds can arrive in a flash, and nothing prevents them from taking over.
Stay loose
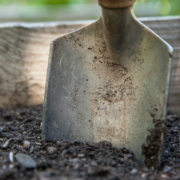
If you use heavy equipment to remove your old turf, the equipment’s weight will compact your soil underneath. You need to avoid this. Minimize the use of heavy equipment and use walk-behind equipment with hand tools where possible. Use a tractor or scraper only where necessary.
Avoid tilling your soil. Tilling soil breaks up and kills your soil microbes. Without the microbes, you’re guaranteed to have those weeds pop up for a long time until new soil microbes develop.
Protect your trees planted in areas where the grass is removed. The key is not to damage their roots. Heavy equipment can destroy roots established by a healthy shade tree. Steer clear of the canopy area under the tree’s branches. Its root structure extends all the way out to the drip line at the edge of the leaves. Irrigate your trees generously during the removal process to help minimize root shock.
Save landscape trees from shock
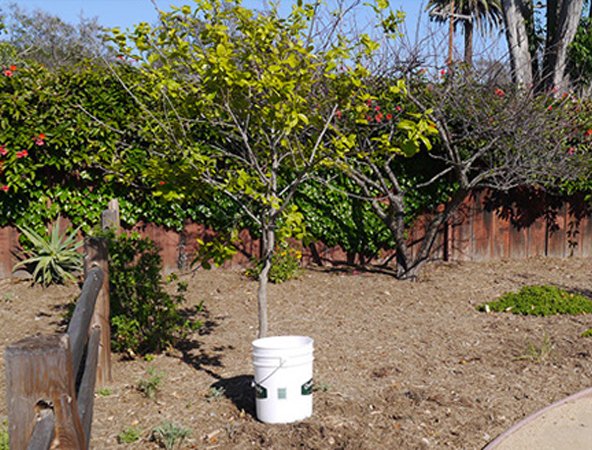
Creating a DIY self-watering bucket will help prevent landscape trees from going into shock after surrounding turf is removed.
When your new sustainable landscaping is installed, your previously existing trees may go into shock when irrigation is reduced overall in your garden. While it’s one of your watersmart landscaping goals, keep the trees watered during the first year after your grass is removed.
A good way to hand water your trees: Punch holes in a five-gallon plastic bucket. Fill the bucket, and set it down at the edge of the tree canopy, and let the water slowly seep into the ground. Repeat the process three to four times to water your beautiful mature trees. This mimics the natural rainfall Mother Nature provides.
This article is part of a year-long series inspired by the 71-page Sustainable Landscapes Program guidebook. The Water Authority and its partners also offer other great resources for landscaping upgrades, including free WaterSmart classes at WaterSmartSD.org.