Tag Archive for: soil
Getting the Dirt on Healthy Landscape Soil
Soil is essential to a healthy landscape and efficient water use. Learn about your soil’s characteristics and how to care for it. The results include easier maintenance, a healthier environment, and a more beautiful landscape.
Here are some simple tests to help you evaluate your soil.
Soil Drainage Assessment
Evaluate your results based on the drainage rate. First, dig a hole 12 inches wide by 12 inches deep. Set aside the soil for additional tests.
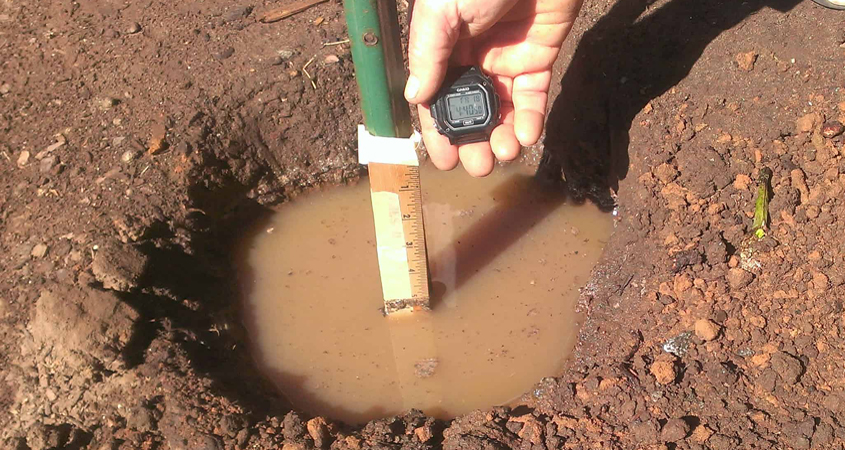
A simple, quick test will tell you how well your soil drains. Photo: Greywater.org
Next, fill the hole with water. Let it drain overnight. Then fill the hole with water a second time. Set a stick in the hole so water just reaches the top. In one hour, measure the drop in water from the top of the stick in inches.
Drainage less than one inch per hour: Poor Drainage. This may be due to high clay content or soil compaction. Add compost to the soil before planting to improve soil aggregation and water infiltration. Select plants that can tolerate poor drainage or consider using raised beds or mounds. Regular surface applications of shredded mulch may be helpful for long-term management. Irrigation should be scheduled for short cycles and long soak periods to meet plant water demand and avoid runoff.
Drainage is between one to three inches per hour: Acceptable Drainage.
Drainage more than three inches per hour: Water moves too quickly through your soil. Add compost before planting to hold the water in the root zone longer and select plants tolerant of fast drainage. Regular surface applications of shredded mulch may be helpful for long term management. Irrigation scheduling may require longer watering times to ensure plants have enough available water at the root zone.
The Worm Test is another method of providing insight into the health of your soil biology. Sift through the soil removed to perform the drainage test. If you can’t find at least ten earthworms, your soil is low on organics and will benefit from the addition of compost when planting. Use shredded mulch after planting to continue to feed the beneficial organisms. Worms help reduce soil compaction, allowing water and air to move into the soil to provide healthy growing conditions and maximize efficient water usage.
Determine Your Landscape Soil Type: Squeeze It and Jar It
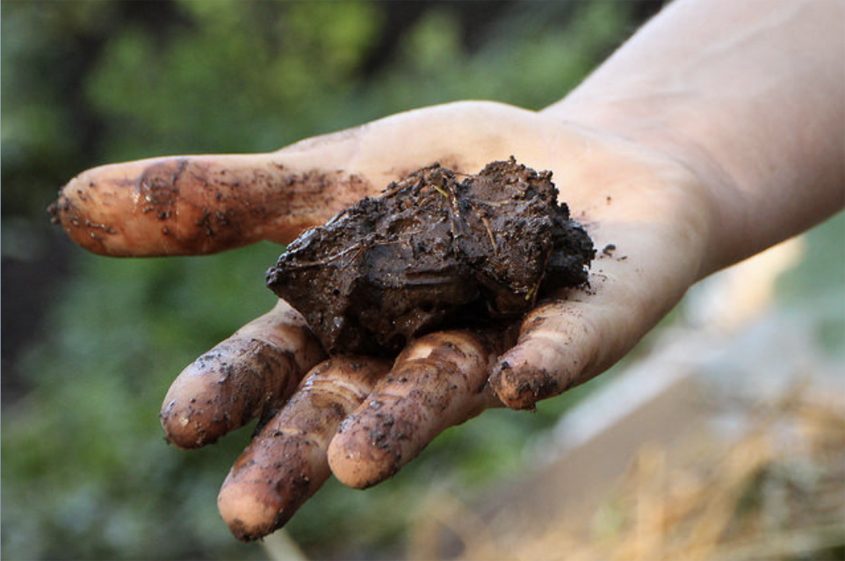
The Squeeze Test can help you determine the texture of your soil. Start by taking a handful of moistened (but not wet) soil and squeeze it firmly. Open your hand and determine which of the following it most resembles.
This soil isn’t retaining enough moisture. Photo: UC Santa Cruz
High sand content soil. A ball of soil falls apart when you open your hand.
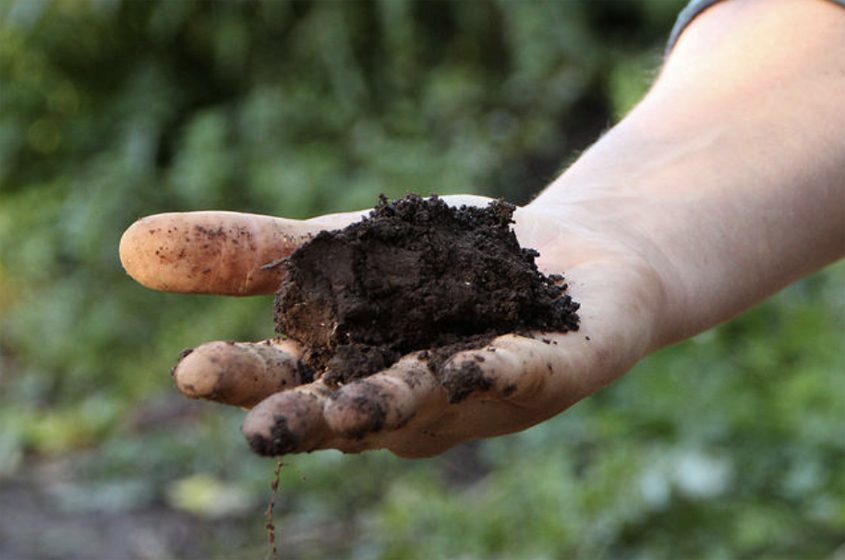
This soil retains the correct and healthy amount of moisture. Photo: UC Santa Cruz
Loamy soil. The ball of soil holds its shape but crumbles when you poke it lightly.
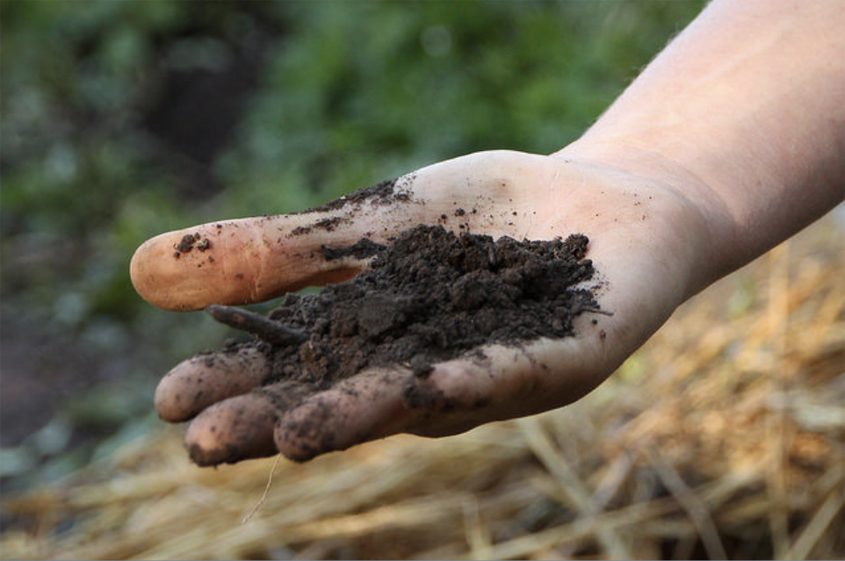
This soil retains too much moisture. Photo: UC Santa Cruz
High clay content soil. Holds its shape and does not crumble when you poke it lightly. Sand is quick draining but has a limited ability to retain nutrients and moisture. Sandy soils often benefit from the addition of organic matter.
Loam is generally considered ideal soil because it retains moisture and nutrients but doesn’t stay soggy. Clay is typically nutrient-rich but has poor drainage. Drainage can sometimes be improved by deep cultivation which breaks up the hard layer of soil
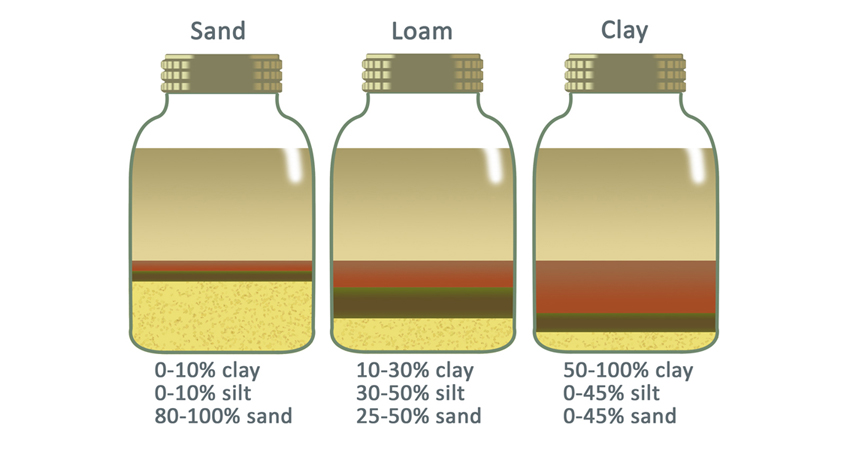
Use this graphic as an example. Aim to get the most even distribution, as shown with the loam jar. Image: San Diego County Water Authority
For the Jar Test, use a one-quart size glass container, such as a Mason Jar. Add one cup of soil from the garden. Add three cups of distilled water. Close and shake the jar until all solids are suspended in water.
Place the container on a shelf and wait 24 hours. If the container is cloudy, then wait another 24 hours. After 48 hours, the layers should be settled with sand on the bottom, silt in the middle, and clay on top.
Measure the layers in proportion to each other. Refer to the graphic to determine your soil type based on the proportions of sand, silt, and clay. Refer to the USDA soil triangle with the soil separation percentages to determine your soil texture.
__________________________________________________________

(Editor’s Note: The San Diego County Water Authority and its 24 member agencies offer programs, resources, and incentives to improve water-use efficiency for residential, commercial, and agricultural users. WaterSmart choices are a way of life in the region. Stay WaterSmart San Diego! For more water-use efficiency resources, go to WaterSmart.SD.org.)
Building Healthy Soil: Give It Some Space
Healthy soil consists of elements we don’t typically think of as soil at all. In fact, one of the most critical aspects of soil is the space between the particles.
Soil space results from a process called aggregation. Solid matter will aggregate under the right conditions, forming space between the masses. This allows air and water to fill this area. Rain or irrigation water percolates through the soil, and aggregate spaces hold it like a storage tank. You can store more water and irrigate less frequently when you have more space.
Common Soil Problems Can Be Corrected
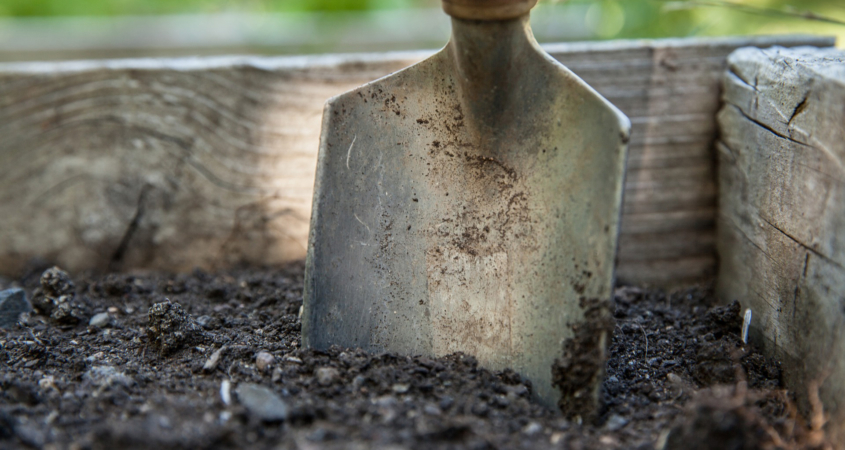
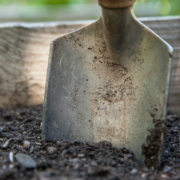
Set yourself up for landscaping success by building the best foundation in your soil structure. Photo: Walkers Almanac/Pixabay
Check your soil aggregation by looking at the soil you dig out during a drainage test. Does it have nice clumps, or is it condensed and compacted?
Compaction is a common problem, especially in areas where grading has been done, foot traffic is heavy, or years of chemical use have killed the soil microbes. Compaction occurs when soil particles are pressed together, reducing pore space. Reduced pore space keeps air away from plant roots and stops water from infiltrating and draining.
Here’s how to tell if your soil is compacted. Take a turning fork and plunge it slowly but firmly into the ground. If your garden has a foot or more of penetrable soil, your compaction is minimal. New roots will grow easily, and water will effectively penetrate and drain. Anything less, and you probably have some soil compaction.
Using a turning fork, an aerator, or a tilling machine, you can create gaps in the soil to loosen compaction. Because it breaks up the fungal connections, it should only be done once to prepare your planting beds.
Follow all of these activities with a layer of compost to feed the soil food web to help build the aggregate spaces. Mulch can also feed healthy soil and help loosen compaction over time.
__________________________________________________
(Editor’s Note: The San Diego County Water Authority and its 24 member agencies offer programs, resources, and incentives to improve water-use efficiency for residential, commercial, and agricultural users. WaterSmart choices are a way of life in the region. Stay WaterSmart San Diego! For more water-use efficiency resources, go to WaterSmart.SD.org.)
Make the Most of Rainfall
On the rare and welcome occasions when San Diego County gets rainfall, the water runoff from hard surfaces around the home such as roofs and patios should be re-directed to your permeable landscaping. By capturing as much rainwater as possible in the soil, it is possible to build an ecosystem that can last through the summer months with minimal additional irrigation.
Approach your landscaping as a living sponge, holding water until it is needed. If more rain falls than can be absorbed, or if the soil is particularly impermeable, rainwater can be directed through landscaped areas to remove pollutants before it flows into storm drains and heads downstream.
Adjust for rainwater capture
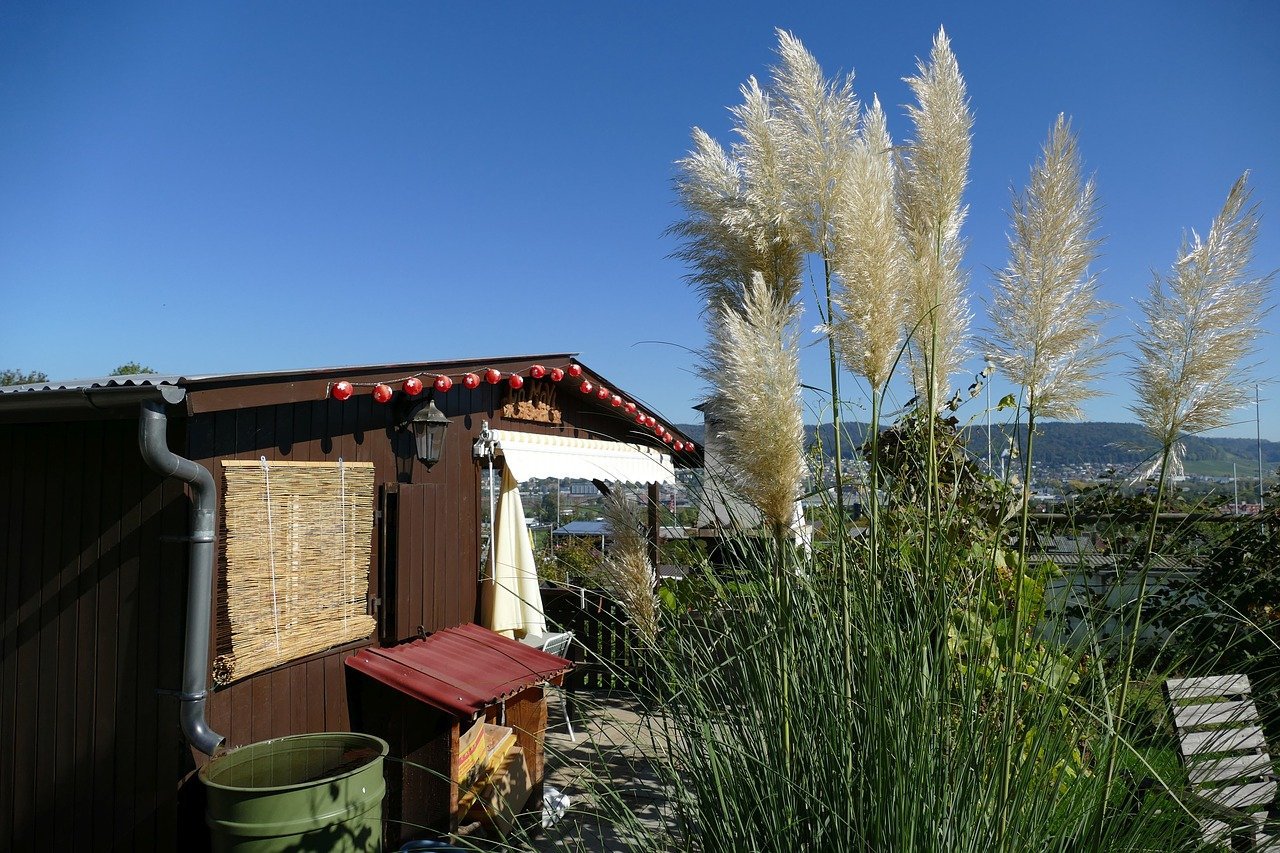
Assess the areas where rainfall runs off hard surfaces to set up capturing tools. Photo: Rambold Heiner / Pixabay
Capture rainfall in three steps. First, check your roof to determine where precipitation is directed after it hits the surface. Does it fall into rain gutters, off the edge, or elsewhere? Second, choose how and where to hold excess rainwater based on this assessment. Finally, consider making upgrades like adding rain barrels or making changes in your landscaping. For instance, landscaping soil may need amendments to hold more water.
Is your soil more like a brick?
If your soil is more like a brick as with clay soils common in San Diego County, it will affect how landscaping is contoured to capture water. Adding soil amendments will help it become more like a sponge that retains water for drier weeks and month. If the soil doesn’t drain well, take special care to avoid drowning new plants.
When choosing landscaping plants, match them to the soil type. If the soil is sandy, look for plants with “dry feet” that prefer free-draining soil, If the soil is harder clay, look for plants that do not mind heavy soil.
Optimal landscape soil can capture rainwater and allow it to soak in completely in 24 to 48 hours.
Do your part to stay WaterSmart
Olivenhain Municipal Water District has partnered with the San Dieguito Water District, Santa Fe Irrigation District, and Carlsbad Municipal Water District to offer discounted rain barrels to area residents this winter. #cawater #CAdrought https://t.co/UF8klEpAAI #RainBarrels pic.twitter.com/tZuBsvK4h5
— San Diego County Water Authority (@sdcwa) December 5, 2021
Many homeowners also use rain barrels to capture rainfall before it reaches the ground so it can be released during dry times.
Olivenhain Municipal Water District has partnered with the San Dieguito Water District, Santa Fe Irrigation District, and Carlsbad Municipal Water District to offer discounted rain barrels to area residents this winter.
Rain barrels ordered by January 31, 2022 will be available for pick up at Solana Center for Environmental Innovation located at 137 North El Camino Real in Encinitas.
Fifty-gallon barrels are on sale for $97, with a final cost of $62 after a $35 rebate from water wholesaler Metropolitan Water District of Southern California. Rebates on rain barrels and other water-saving measures are available at www.socalwatersmart.com.
For more information about rain barrels, and other conservation tips and rebates to create a WaterSmart home and garden, go to WaterSmartSD.org.
This article is part of a year-long series inspired by the 71-page Sustainable Landscapes Program guidebook. The Water Authority and its partners also offer other great resources for landscaping upgrades, including free WaterSmart classes at WaterSmartSD.org.
(Editor’s note: The Olivenhain Municipal Water District, the San Dieguito Water District, Santa Fe Irrigation District and the City of Carlsbad, are four of the San Diego County Water Authority’s 24 member agencies that deliver water across the metropolitan San Diego region.)
Check Before Overwatering Your Landscaping
Do you know if your landscaping really needs water? Even if you have waterwise irrigation on a properly timed schedule for your individual landscaping plan, it’s a good idea to make sure it’s really needed. You could be wasting water assuming it’s necessary. Appearances can be misleading.

Remove Your Lawn the Healthy Way
The day has come to replace your thirsty, water guzzling grass. Before you remove it, plan your process carefully to leave only healthy living soil as the foundation for a beautiful, thriving new landscape.
Don’t just turn off your irrigation and let your grass turn brown as it dies off. Healthy microbes in your soil will die off along with the lawn. You want to work with those microbes to help create healthy soil for your new plants.
Instead, keep your grass moist until you remove it. It’s also a lot easier to remove fresh, moist grass than to try and pry out dead dry grass and weeds in rock hard, dry soil.
Stay cool and save healthy microbes
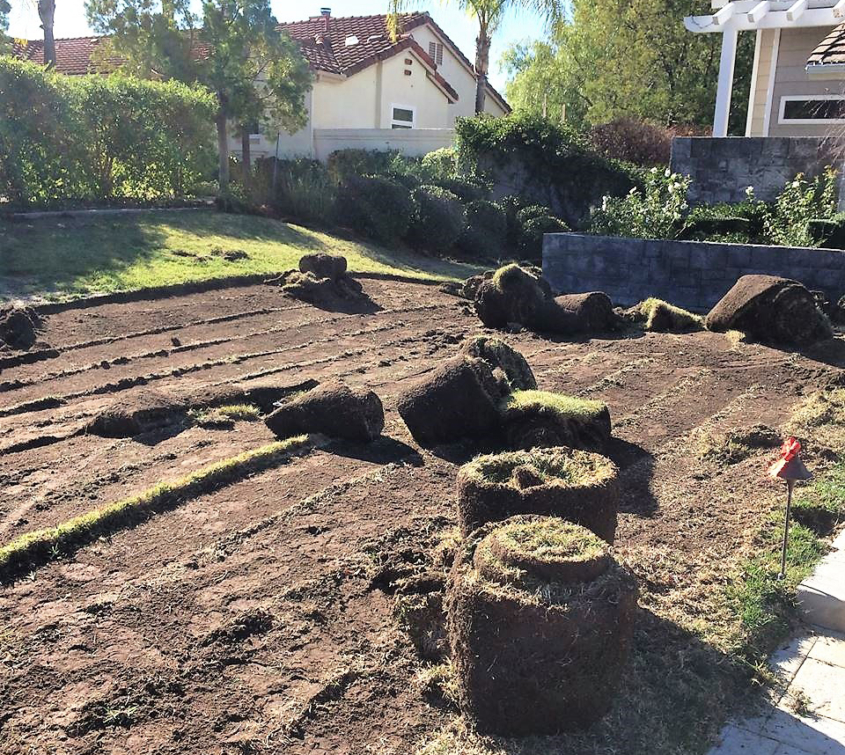
Remove your old turf in a way that preserves valuable soil microbes. Photo: San Diego County Water Authority
It’s tempting to remove your lawn through solarizing. Solarizing is sometimes used as a way to remove grass without chemical treatment. Instead, a covering such as a heavy black plastic tarp is placed over the grass. Sunlight heats the covering, which broils and kills the lawn through high temperatures. This heat also kills existing healthy microbes you need for healthy soil. It’s possible to artificially replace them with compost, but you need to invest in a lot of compost to restore the good microbes when grass is killed off and removed with this method.
When soil is solarized, it’s sterilized. It remains like this for weeks. Worse, it really doesn’t do much good. Opportunistic weeds move in quickly to try and take over the ground. These weeds don’t grow from existing seeds in the soil. These have usually been killed off. But without any competition, new weeds can arrive in a flash, and nothing prevents them from taking over.
Stay loose
If you use heavy equipment to remove your old turf, the equipment’s weight will compact your soil underneath. You need to avoid this. Minimize the use of heavy equipment and use walk-behind equipment with hand tools where possible. Use a tractor or scraper only where necessary.
Avoid tilling your soil. Tilling soil breaks up and kills your soil microbes. Without the microbes, you’re guaranteed to have those weeds pop up for a long time until new soil microbes develop.
Protect your trees planted in areas where the grass is removed. The key is not to damage their roots. Heavy equipment can destroy roots established by a healthy shade tree. Steer clear of the canopy area under the tree’s branches. Its root structure extends all the way out to the drip line at the edge of the leaves. Irrigate your trees generously during the removal process to help minimize root shock.
Save landscape trees from shock
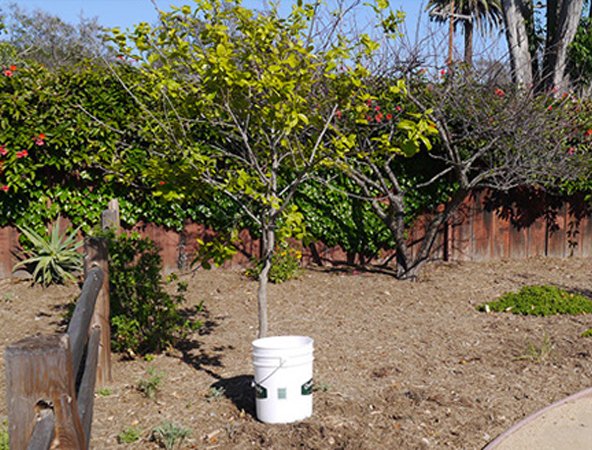
Creating a DIY self-watering bucket will help prevent landscape trees from going into shock after surrounding turf is removed.
When your new sustainable landscaping is installed, your previously existing trees may go into shock when irrigation is reduced overall in your garden. While it’s one of your watersmart landscaping goals, keep the trees watered during the first year after your grass is removed.
A good way to hand water your trees: Punch holes in a five-gallon plastic bucket. Fill the bucket, and set it down at the edge of the tree canopy, and let the water slowly seep into the ground. Repeat the process three to four times to water your beautiful mature trees. This mimics the natural rainfall Mother Nature provides.
This article is part of a year-long series inspired by the 71-page Sustainable Landscapes Program guidebook. The Water Authority and its partners also offer other great resources for landscaping upgrades, including free WaterSmart classes at WaterSmartSD.org.
Soil Probe Tips for Success
Knowing how to use a soil probe as an important soil management tool will support your effort to create a healthy, thriving landscape full of beautiful plants. You need to first know as much as possible about your soil to understand your irrigation needs. Irrigation is critical to keep your landscaping green and growing. But more isn’t better. One way to easily gauge your landscape’s needs is to use the Jar Test.
Soil Probe Tips for Success
Knowing how to use a soil probe as an important soil management tool will support your effort to create a healthy, thriving landscape full of beautiful plants.
You need to first know as much as possible about your soil to understand your irrigation needs. Irrigation is critical to keep your landscaping green and growing. But more isn’t better. One way to easily gauge your landscape’s needs is to use the Jar Test.
Another helpful tool is a soil probe. A soil probe lets you determine a lot more information about the soils in your landscaping. It will give you information about whether your irrigation is successfully reaching the roots of your plants, or even if it soaks in too deep past the reach of plant roots.
If you don’t understand your individual soil profile, you can’t plan effective irrigation. When there is variability in the conditions across your landscape, you may have different types of soils from one area to another or from a surface layer of soil to a deeper layer.
A good soil probe will help you figure out when your irrigation water has reached the right depth for the plants in your landscaping. It is a simple process with the right tools.
How to use your soil probe
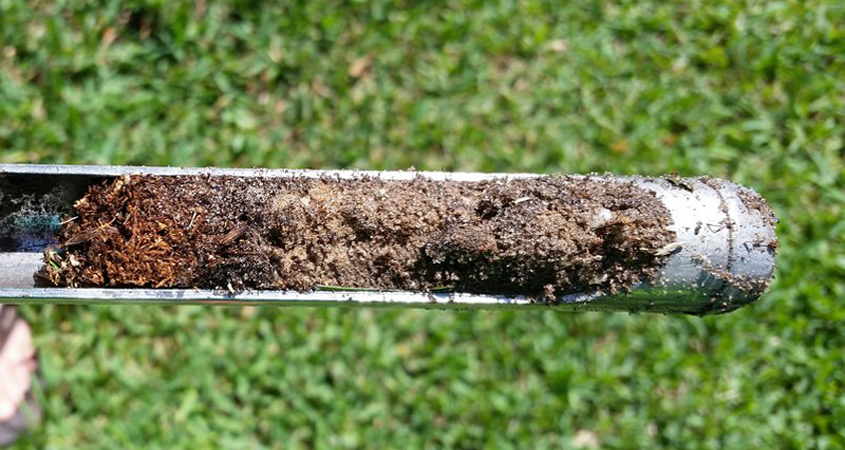
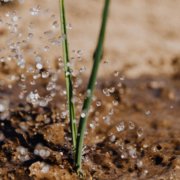
Use a soil probe to test how well irrigation dispenses into your landscape. Photo: University of Florida/Creative Commons
When your soil is moist, a soil probe should go into the ground easily, without a lot of effort. Your soil probe will stop when it hits hard, dry dirt, and won’t go further. But your soil probe could also be hitting rock, so you may want to reposition it just a few inches away and try again.
If you are confident you’ve hit only dry soil, put your fingers around the probe at the soil surface, and pull it out. Measure the depth in inches to learn how deep your irrigation will penetrate into the soil.
To properly irrigate your plants, understand the depth of their roots. Trees send their roots much deeper into the soil than shrubs, and shrubs have deeper roots than bedding plants like annual and perennial flowers or vegetables.
Most plants will do fine as long as the top foot of soil (12 inches) is filled with water when you irrigate. Shrubs should be irrigated to a depth of two feet (24 inches), and trees irrigated to a depth of three feet (36 inches).
You can purchase a soil probe at any general hardware store or gardening center. A basic soil probe costs between $30 and $80, but there are high-tech probes costing up to $300.
To learn more about your soil, sign up for Soil & Site Assessments virtual workshop.
This article is part of a year-long series inspired by the 71-page Sustainable Landscapes Program guidebook. The Water Authority and its partners also offer other great resources for landscaping upgrades, including free WaterSmart classes at WaterSmartSD.org.
Oxygen, Water, and Life Create Healthy Landscape Soil
Your landscaping soil needs three things to feed the billions of microbes within it to transform brick-hard, lifeless dirt into healthy, living soil sponges: oxygen, water, and life. Think OWL to remember these important, interconnected factors.
Oxygen, Water, and Life Create Healthy Landscape Soil
Your landscaping soil needs three things to feed the billions of microbes within it to transform brick-hard, lifeless dirt into healthy, living soil sponges: oxygen, water, and life. Think OWL to remember these important, interconnected factors.
Oxygen lets microbes breathe free
Oxygen is needed by healthy plant roots and soil organisms. Healthy soil has lots of tiny little pockets of air. When soils are eroded, graded, or disturbed, their structure becomes compacted and hard. Compaction takes place when tiny air and water bubbles are squeezed out of the soil. This kills the healthy microbes working to keep your soil replenished. Microbes can be killed by fertilizers, pesticides, or even heavy traffic from people or vehicles.
Water for your microbes and plants
Microbes and plans both need water to live. But too much water in your soil will displace oxygen, saturating the soil. This creates an anaerobic condition. It is the unhealthy microbes like bacteria, viruses, or parasites that prefer anaerobic soil. If this condition persists, diseases may develop. They will endanger the health of your garden.
Water is constantly moving through the soil. Water in the soil needs to be replenished as plants use it, as it evaporates from the soil surface, and as gravity pulls it down past the root zone of your plants.
Bring your soil to life
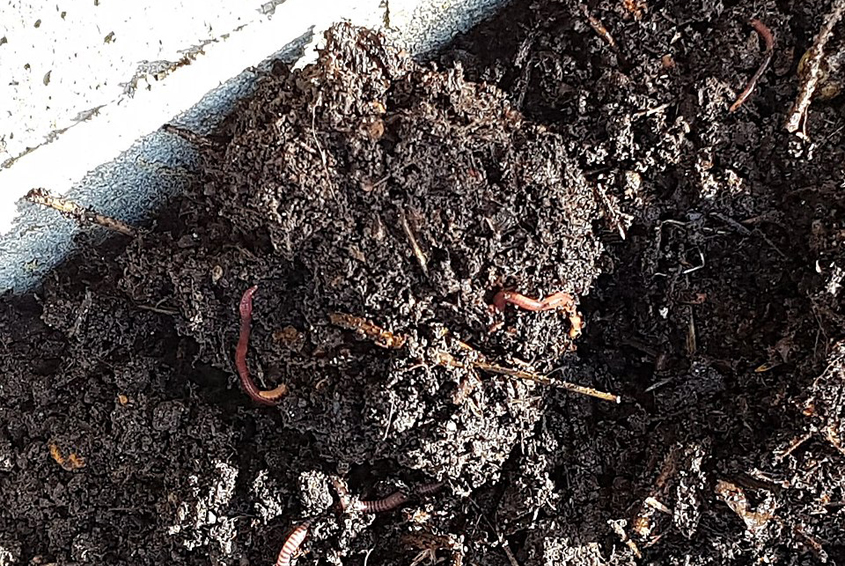
The microbes consume organic matter, and then they are consumed by bigger creatures (worms, ants, slugs, centipedes, larvae, etc.). They are consumed in turn by creatures further up nature’s food chain. Photo: Malcolm Fowles, Wikipedia
Life in the soil includes all the bacteria, protozoa, nematodes, and fungi, the food they eat, the excretions they make, and the root systems they sustain. Living microbes are most quickly incorporated into your soil by adding high-quality compost.
Plants attract microbes to their roots by feeding them carbon. Bacteria and fungi hold the soil together with microscopic glues and binders. The microbes consume organic matter, and then they are consumed by bigger creatures (worms, ants, slugs, centipedes, larvae, etc.). They are consumed in turn by creatures further up nature’s food chain.
Carbon and other nutrients cycle through these many life forms, creating healthy living soil, no matter what the soil type.
Without any of these elements, your landscaping will not thrive. Organic matter, planning and some labor may be involved, but creating healthy soil using the OWL method – Oxygen, Water and Life – will pay off in reduced maintenance, reduced inputs, reduced pollution on land and in our waterways, and the beauty of your thriving, healthy landscape.
This article is part of a year-long series inspired by the 71-page Sustainable Landscapes Program guidebook. The Water Authority and its partners also offer other great resources for landscaping upgrades, including free WaterSmart classes at WaterSmartSD.org.