With the help of resources such as the San Diego County Water Authority’s WaterSmart Landscape Makeover classes, video on demand, and Sustainable Landscape Guide, many homeowners feel prepared to create a beautiful new sustainable landscape on their own.
But sometimes, it’s a smart idea to call on professionals trained in different aspects of the watershed approach to landscaping. With a little help, you can ensure the success of your project. For your investment, you will likely save time and money by avoiding unsuccessful efforts.
There is no shortage of experts available in all aspects of landscape planning, design, installation, and maintenance.
Assessment organizations, including site assessment and testing, various measuring services, surveyors, soil testing services, and even Google Maps are available. Property measuring and survey companies can develop more detailed site plans with elevations, siting of trees, and landscape amenities.
Professional experts in multiple fields
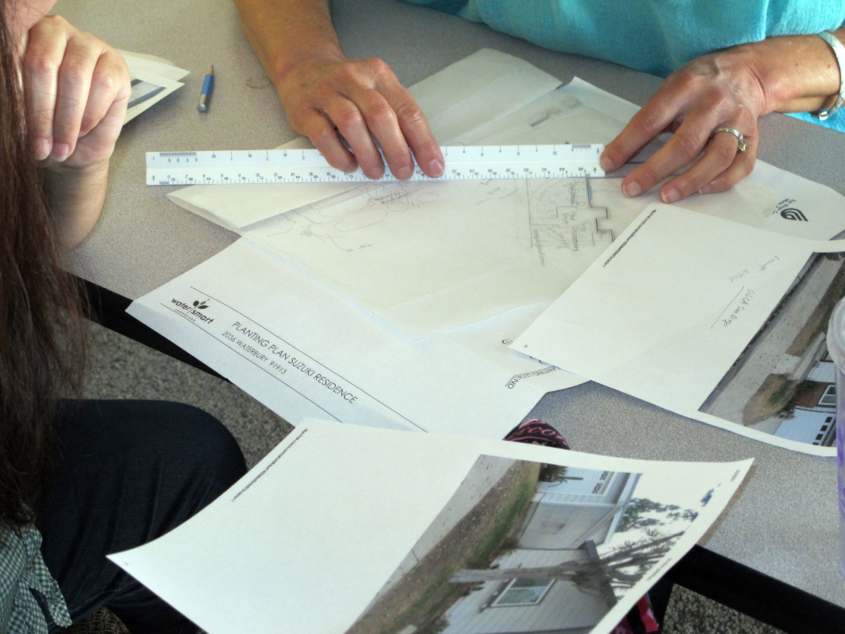
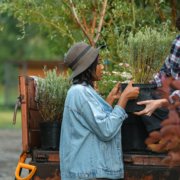
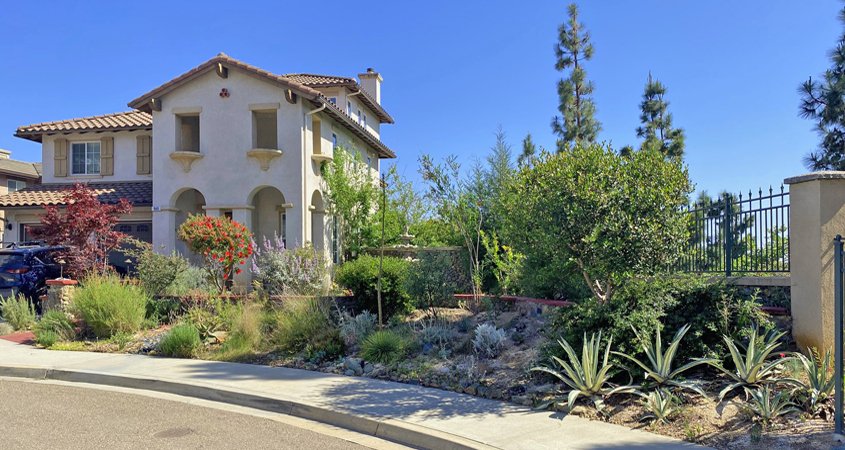
Landscaping designers can expedite your landscape makeover plans. Photo: San Diego County Water Authority
Planning and design professionals can help you develop a working plan and budget for your landscaping. The plan should include drawings, resource lists, and an outline of the techniques needed to implement the plan. Landscape designers and architects can help you create a conceptual design. Working with a licensed professional is recommended if you have hillsides and slopes or complicated structures.
Landscape installation and construction professionals are licensed contractors specializing in building landscapes and can work on all aspects of a sustainable landscape plan. You may be able to install your own garden, but if you get stuck, you can call upon the expertise of an experienced pro who carries all the necessary insurance and is knowledgeable about permitting requirements.
Rainwater catchment specialists include people certified by the American Rainwater Catchment Systems Association to design and install rainwater capture systems. These pros can bring specialized expertise to your project, particularly if it involves installing an active capture system such as a cistern. The water savings you achieve can offer you a solid return on investment.
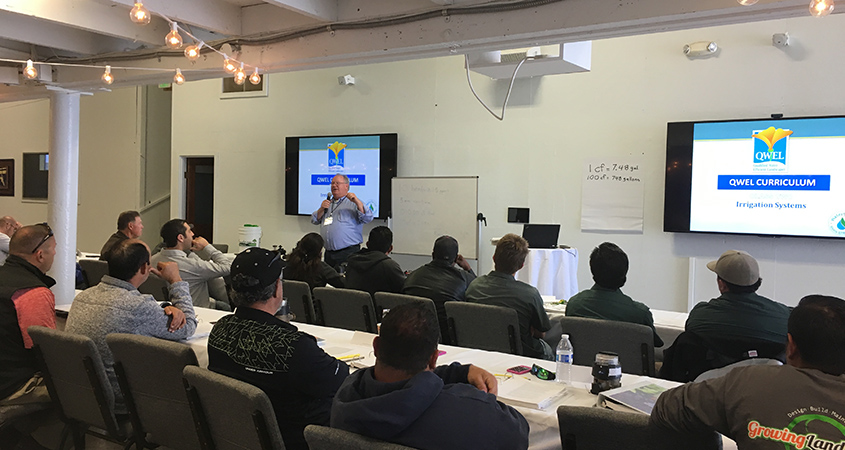
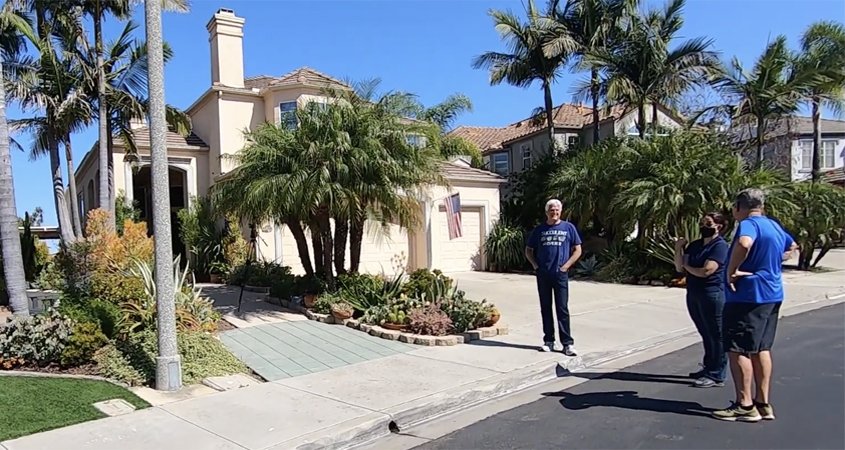
QWEL program curriculum includes 20 hours of classroom and hands-on training on principles of plant care, irrigation system design, maintenance, programming, operations, and troubleshooting. Photo: San Diego County Water Authority
Irrigation system consultants include people with certification by an EPA WaterSense® organization to provide irrigation system auditing, design, and maintenance. They can help you improve the efficiency of your irrigation system. The Irrigation Association, California Landscape Contractors Association Water Managers, Qualified Water Efficient Landscapers (QWEL), and G3 Watershed Wise Landscape Professionals all provide searchable lists of qualified people.
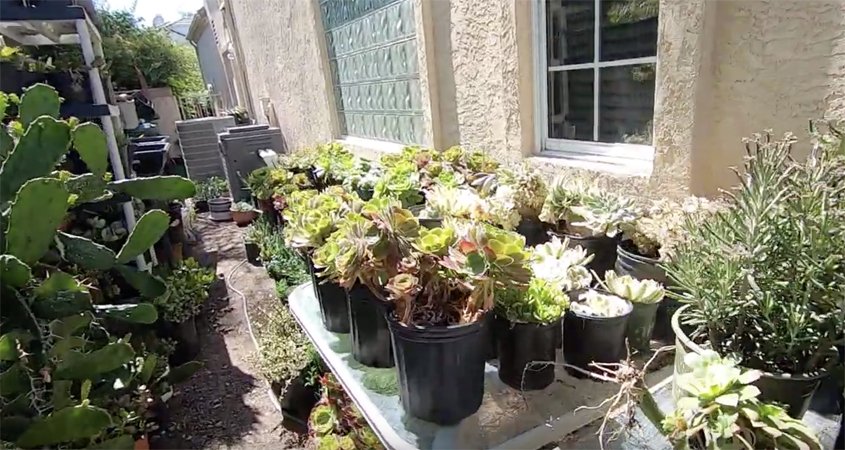
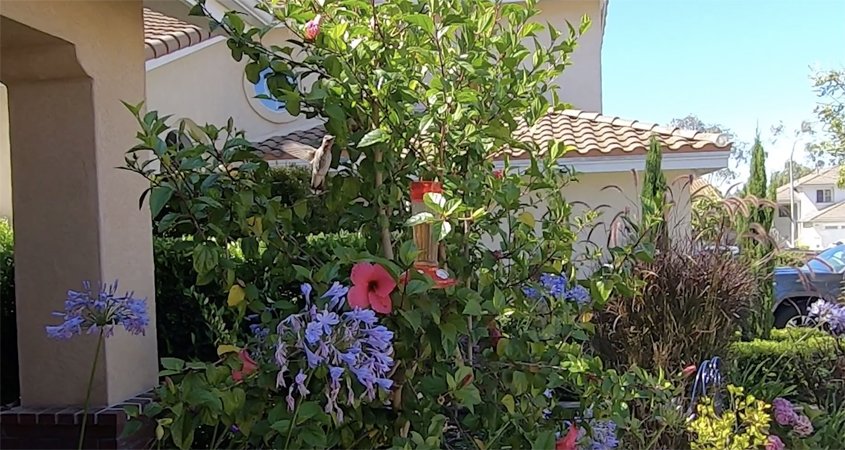
Plant selection specialists include your local retail nursery and garden center, native plant societies, Master Gardeners, and professional gardeners. Learn from them, and do your homework to select plants that are both climate-appropriate and locally native to your area. You will be rewarded with a better understanding and appreciation of your garden as it evolves over the years.
The maintenance of sustainable landscapes requires an understanding of the watershed approach to landscaping and water management. Even if you eliminate the need to mow a lawn, there remains the need for fine pruning, irrigation tune-ups, cleaning and checking water retention devices, and soil building. Maintenance people have the know-how to implement mulching, basic irrigation adjustments, and care for native plants.
Certified arborists are specialists trained in the art and science of planting, caring for, and maintaining individual trees. Find qualified professionals at the International Society of Aboriculture and the American Society of Consulting Arborists.
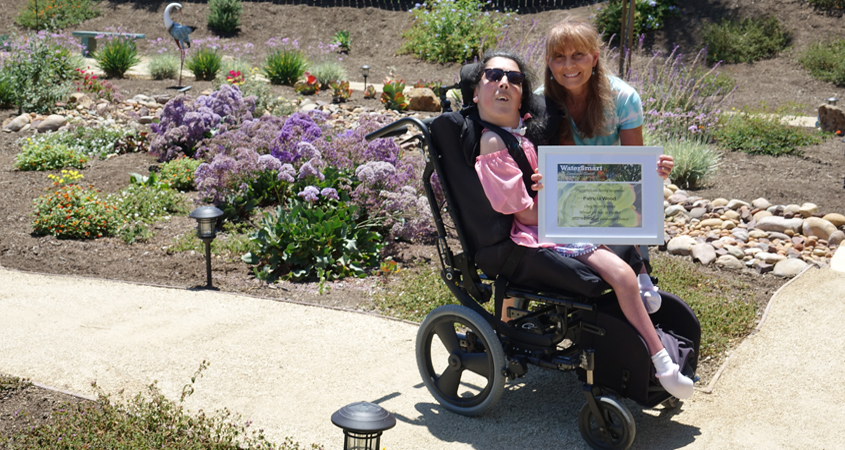
Take advantage of the public education provided by your local water district, various nonprofit organizations, and the San Diego County Water Authority. Classes are often free of charge.
The Irrigation Association, California Landscape Contractors Association Water Managers, Qualified Water Efficient Landscapers (QWEL), and G3 Watershed Wise Landscape Professionals all provide searchable lists of qualified people.
This article is part of a year-long series inspired by the 71-page Sustainable Landscapes Program guidebook. The Water Authority and its partners also offer other great resources for landscaping upgrades, including free WaterSmart classes at WaterSmartSD.org.