Contouring Tips Help You Make The Grade
It’s smart to use existing depressions, slopes and contours for guidance when planning your landscape grading. If your yard is perfectly flat, you’ll need to move soil and features around to create more rain-holding contour areas.
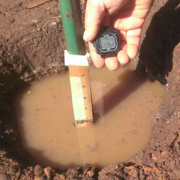
Do a Percolation Test, and prep your soil as needed to make it as much of a water-retaining sponge as possible before getting to work on rainwater capture plans.
NOTE: If you are working with existing hillsides, it’s best to get professional advice before grading or other significant changes. Before any digging, call Dig Alert 8-1-1 or visit digalert.org
Basins and swales
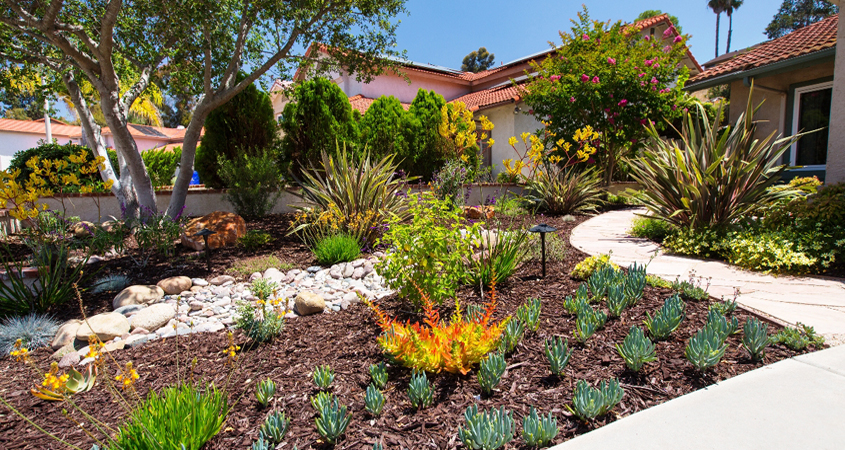
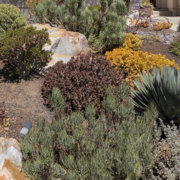
Basins and swales can take the form of dry creek beds, as in this award-winning water smart landscaping project. Photo Water Authority
Basins and swales are shallow depressions or channels no more than 24 inches deep on gently sloped or nearly flat landscapes. Basins and swales move water over short distances. The plants in and around the depressions capture and sink small volumes of surface water.
Small, shallow depressions work best in clay soil areas, while sandy soils may accommodate deeper depressions up to two feet. Channels can be planted or lined with rocks and small boulders to resemble natural creek beds.
Berms
Berms are mounds of raised soil, usually planted, that can border basins and swales or be used alone. They help contain and move water around, increasing the holding capacity of basins and swales
Boulders
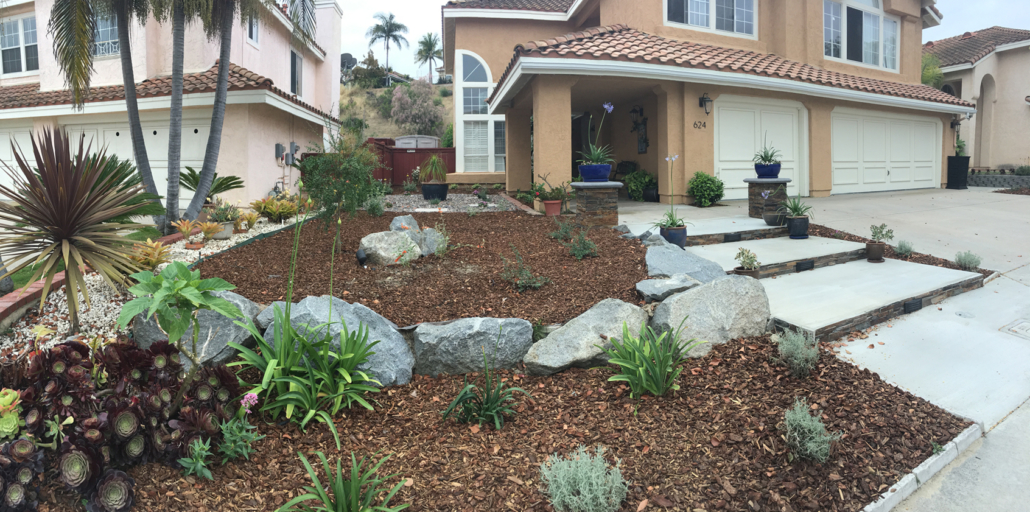
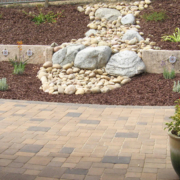
Boulders can add points of interest and slow down water runoff in your landscaping. Photo: Water Authority
Boulders are useful to retain small berms or the edges of swales. They also create points of interest in your landscaping.
This article was inspired by the 71-page Sustainable Landscapes Program guidebook available at SustainableLandscapesSD.org. The Water Authority and its partners also offer other great resources for landscaping upgrades, including free WaterSmart classes at WaterSmartSD.org.