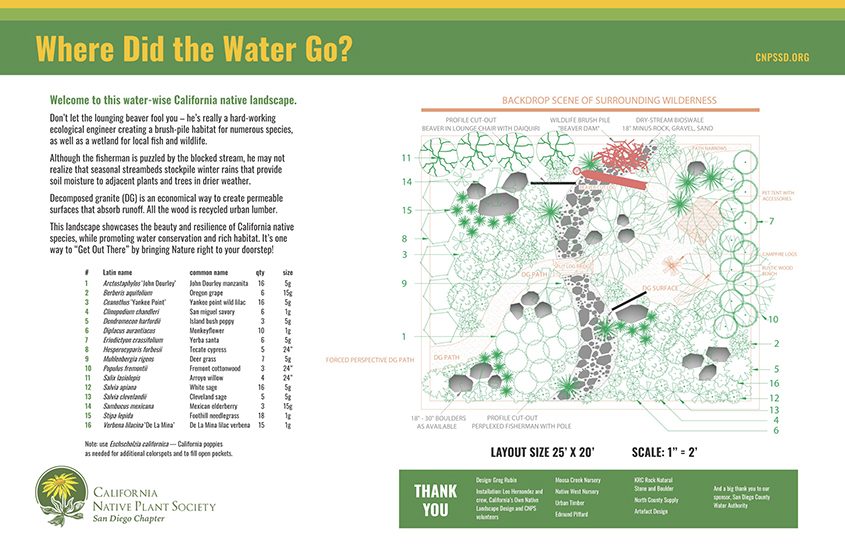
Family Friendly Watershed Approach Wins Olivenhain MWD 2023 Landscape Makeover Contest
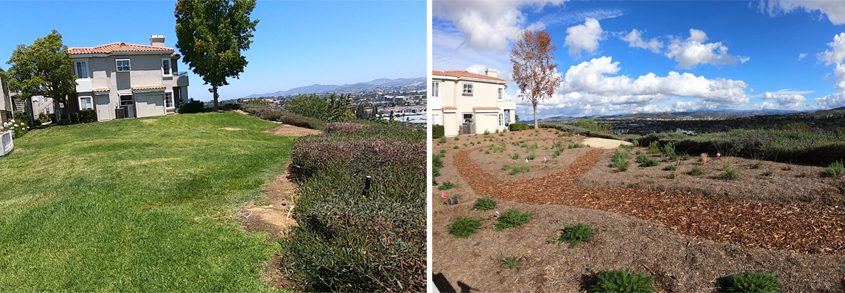
By taking a watershed approach to his landscape redesign, homeowner Brad Lefkowits won the Olivenhain Municipal Water District’s 2023 Landscape Makeover Contest.
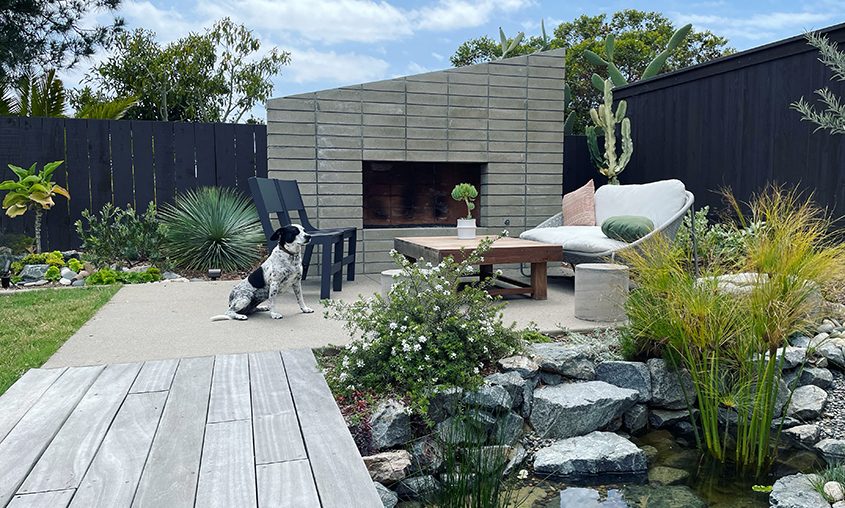
Even the family dog feels right at home in the winning design. Photo: Olivenhain Municipal Water District
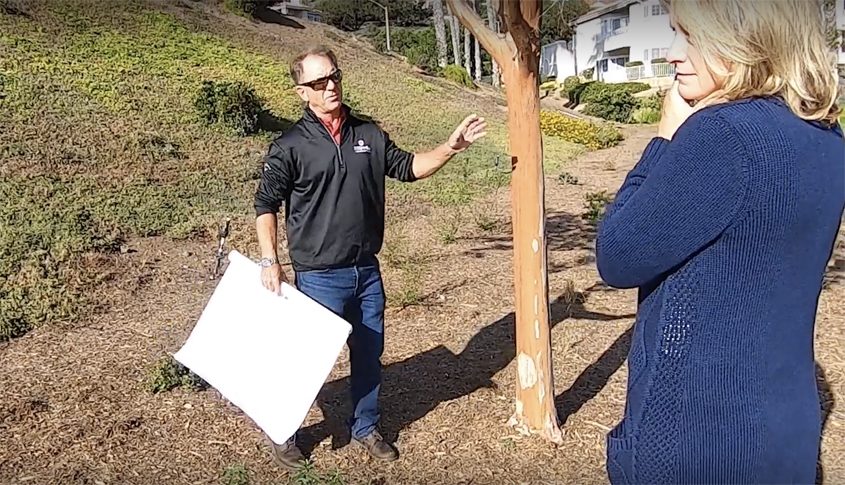
Lefkowits was recognized at the June 21 OMWD Board of Directors meeting. The WaterSmart Landscape Contest is held annually by water agencies throughout San Diego County. Entries highlight colorful and lush landscapes that use less water than turf-heavy landscapes. Winning entries exhibit an appealing design, climate-appropriate plant selection, and water-efficient irrigation.
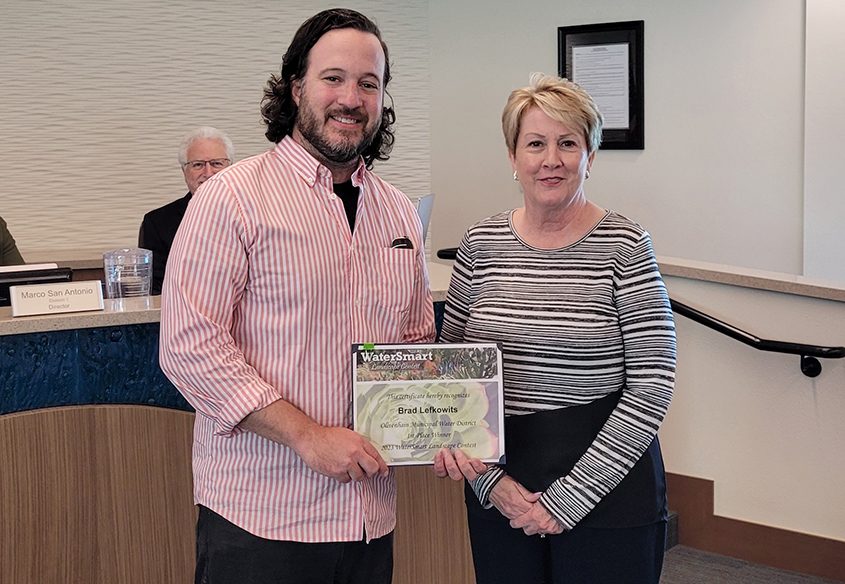
Landscape Contest Winner Brad Lefkowits receives his award from Olivenhain Municipal Water District Board President Christy Guerin at the June board meeting. Photo: Olivenhain Municipal Water District
“Water is a precious, limited resource in California where the next dry period could be right around the corner,” said OMWD Board Treasurer Neal Meyers. “We encourage our customers to continue to increase outdoor water use efficiency, and replacing large turf areas with drought-tolerant plants could cut a home’s outdoor water use in half.”
Family-friendly and water-efficient
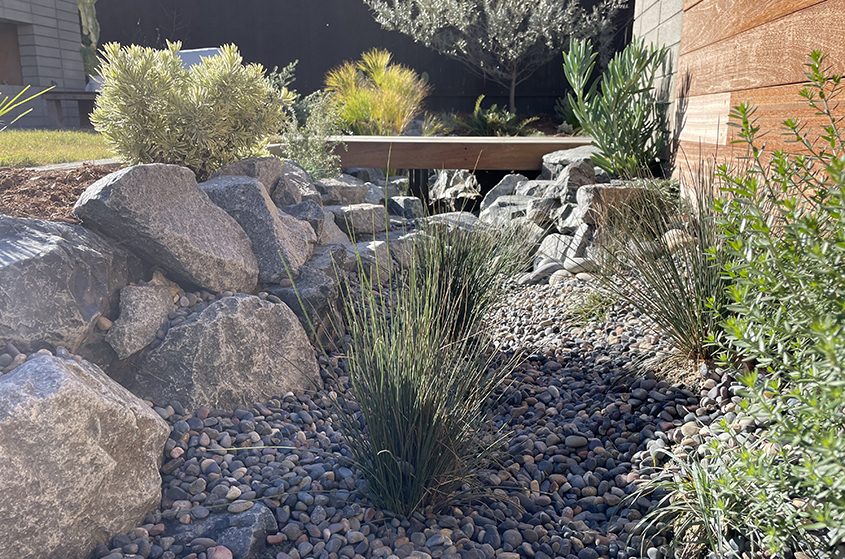
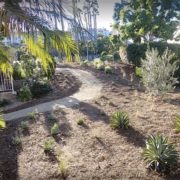
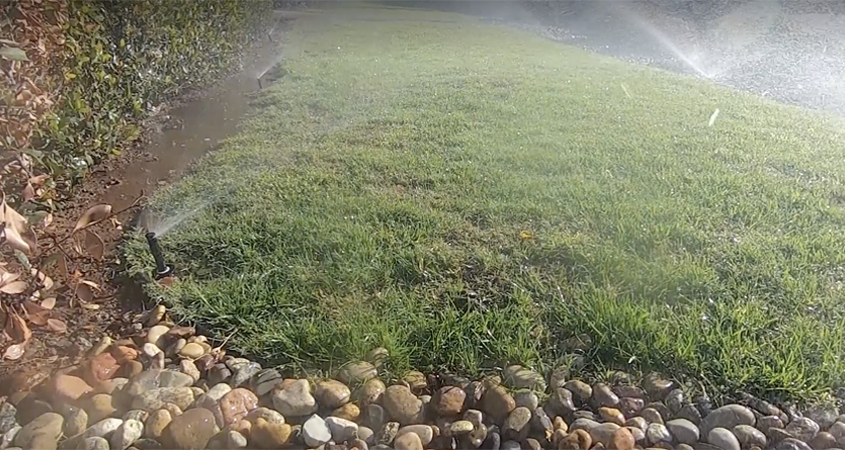
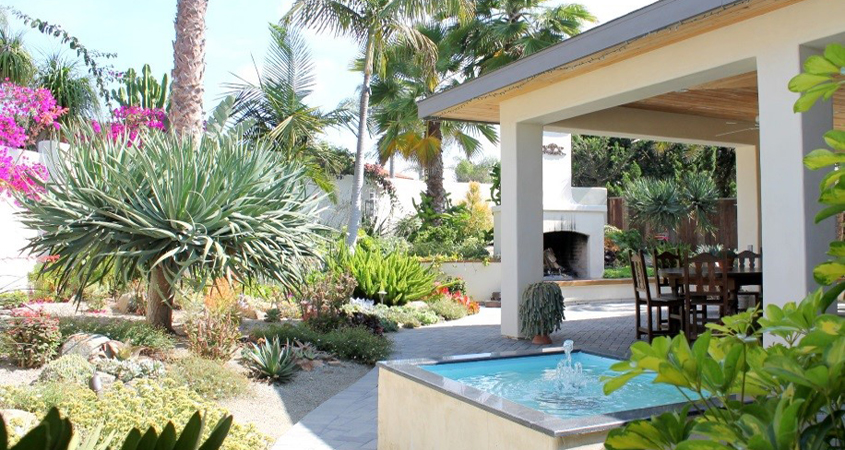
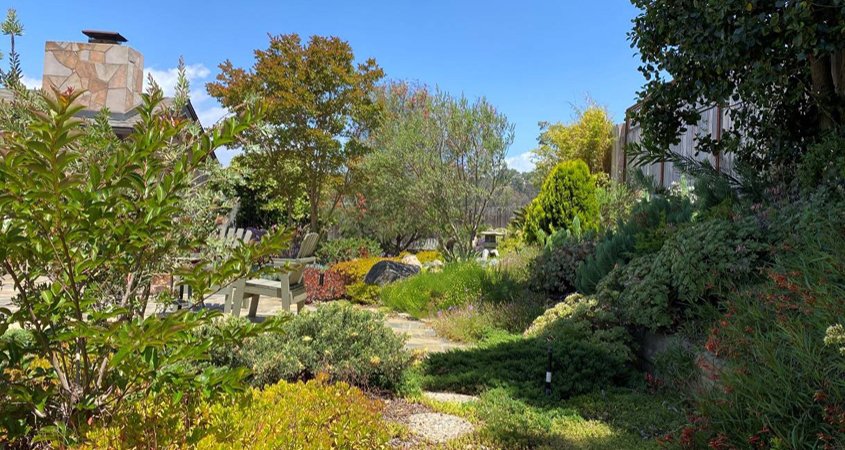
The landscape design features the generous use of swales to capture and hold rainwater to prevent runoff. Photo: Olivenhain Municipal Water District
Lefkowits says his goal was to keep as much rainwater on the Encinitas property as possible using a watershed-inspired landscape design. He captures rainwater in a 530-gallon cistern and sends overflow into a series of connected swales. Swales are shallow, broad channels designed to store water runoff. They are easy to incorporate into landscaping at a minimal cost. The swales in the Lefkowits’ yard can hold over an inch of rain without any leaving the property.
Minimizing water runoff to streets reduces the amount of pollutants carried into storm drains and eventually into the ocean.
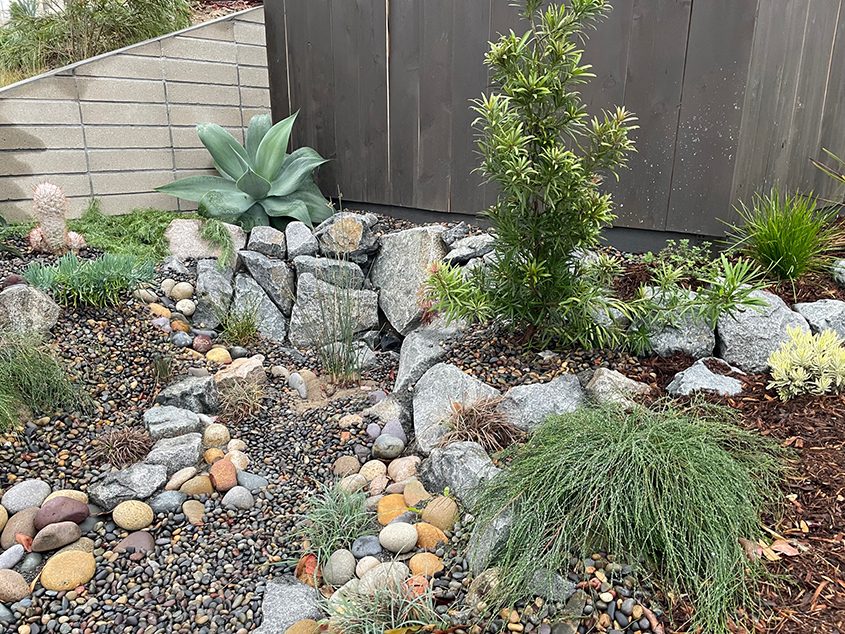
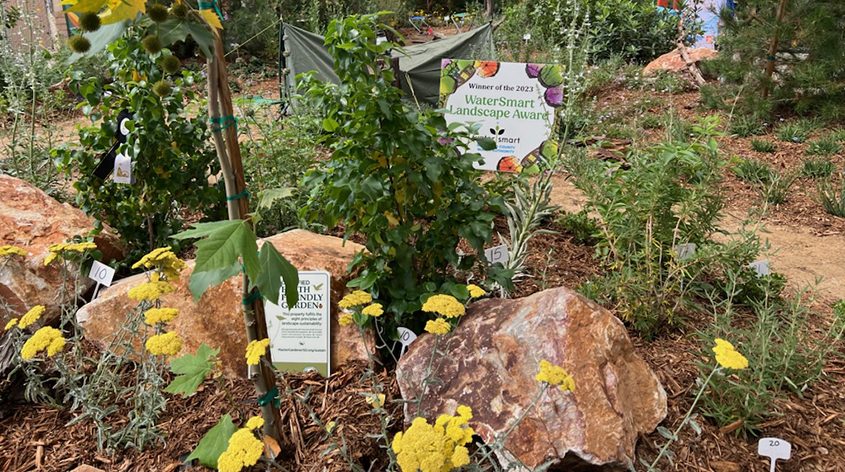
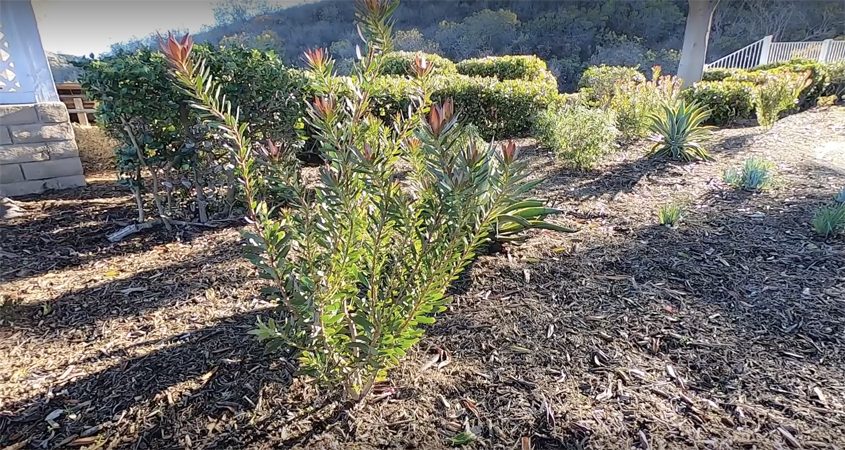
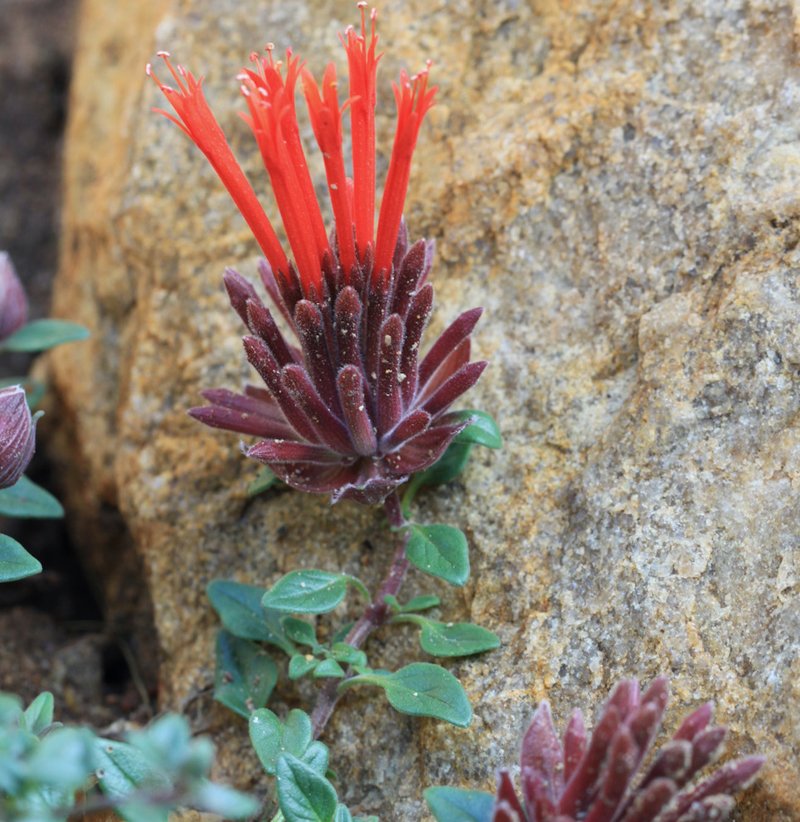
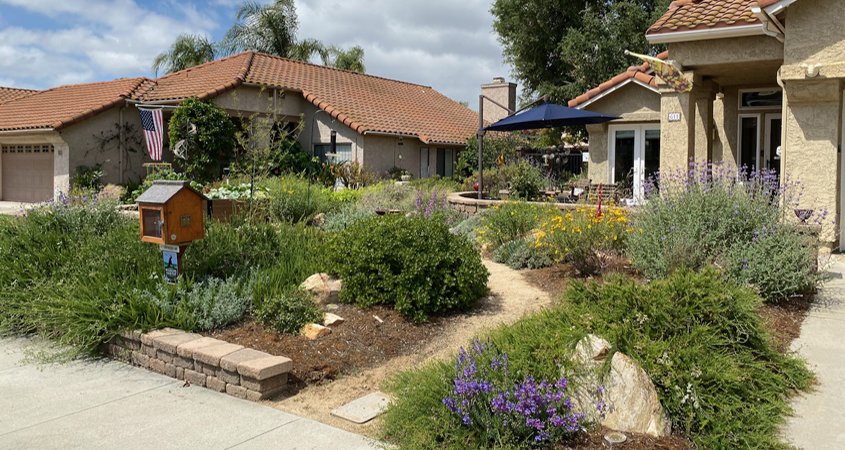
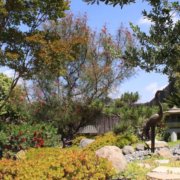
Both native plants and Mediterranean climate plants are incorporated into the winning design. Photo: Olivenhain Municipal Water District
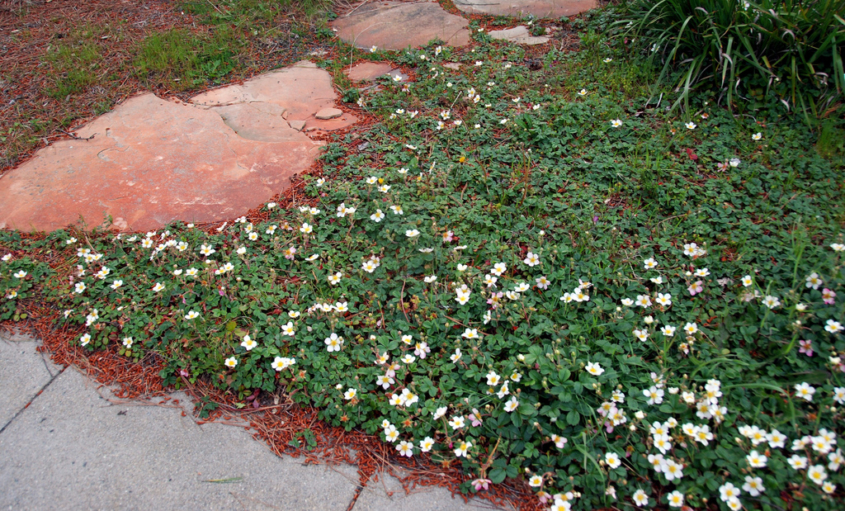
Lefkowits included both native plants and attractive and hardy plants from other Mediterranean climates around the world in his landscape. He installed a 300-square-foot lawn for two sons and the family dog, using a mix of California Buffalo Grass and native Carex praegracilis. It only needs to be watered once a week.
While Lefkowits uses high-efficiency rotating sprinkler nozzles for the small lawn, all other areas are irrigated with an in-line drip system.
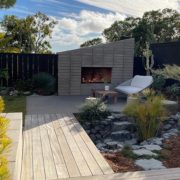
The result is a yard with multiple uses and surprises around every turn. It has a lush appearance and still accommodates family activities without using grass requiring much water.
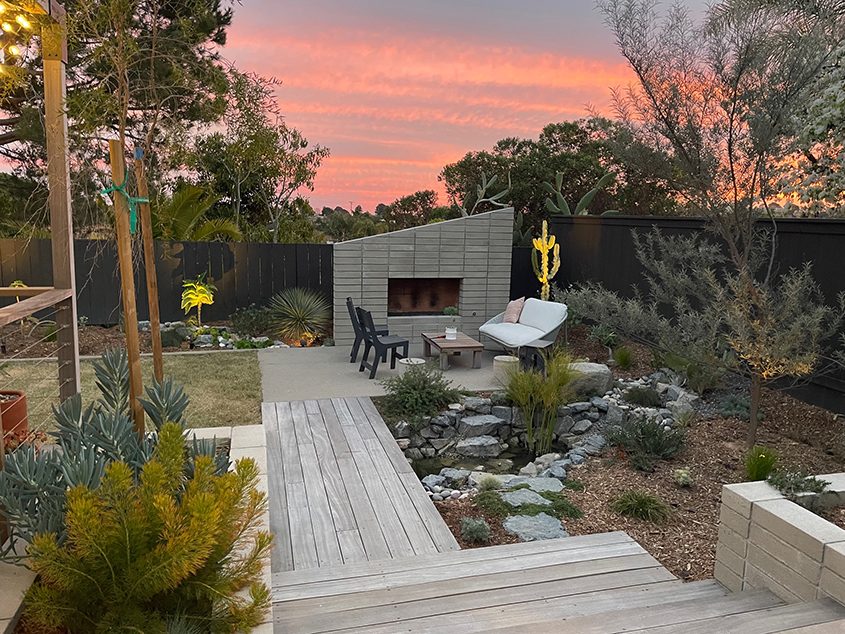
The finished project offers something for every member of the Lefkowitz family to enjoy. Photo: Olivenhain Municipal Water District
(Editor’s note: The Olivenhain Municipal Water District is one of the San Diego County Water Authority’s 24 member agencies that deliver water across the San Diego County region.)